
 Free ground shipping
 10-second checkout with Amazon
 3-year warranty
 We pay sales tax, if applicable
 60-day audition
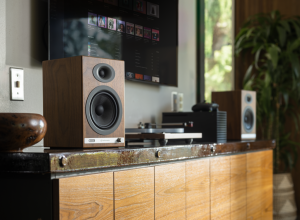
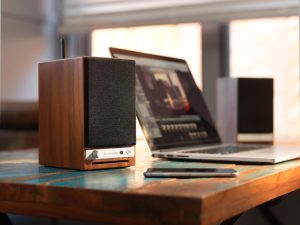
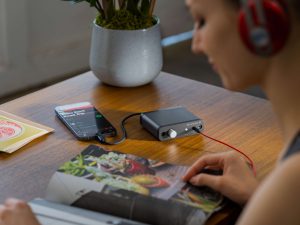
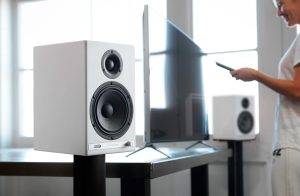
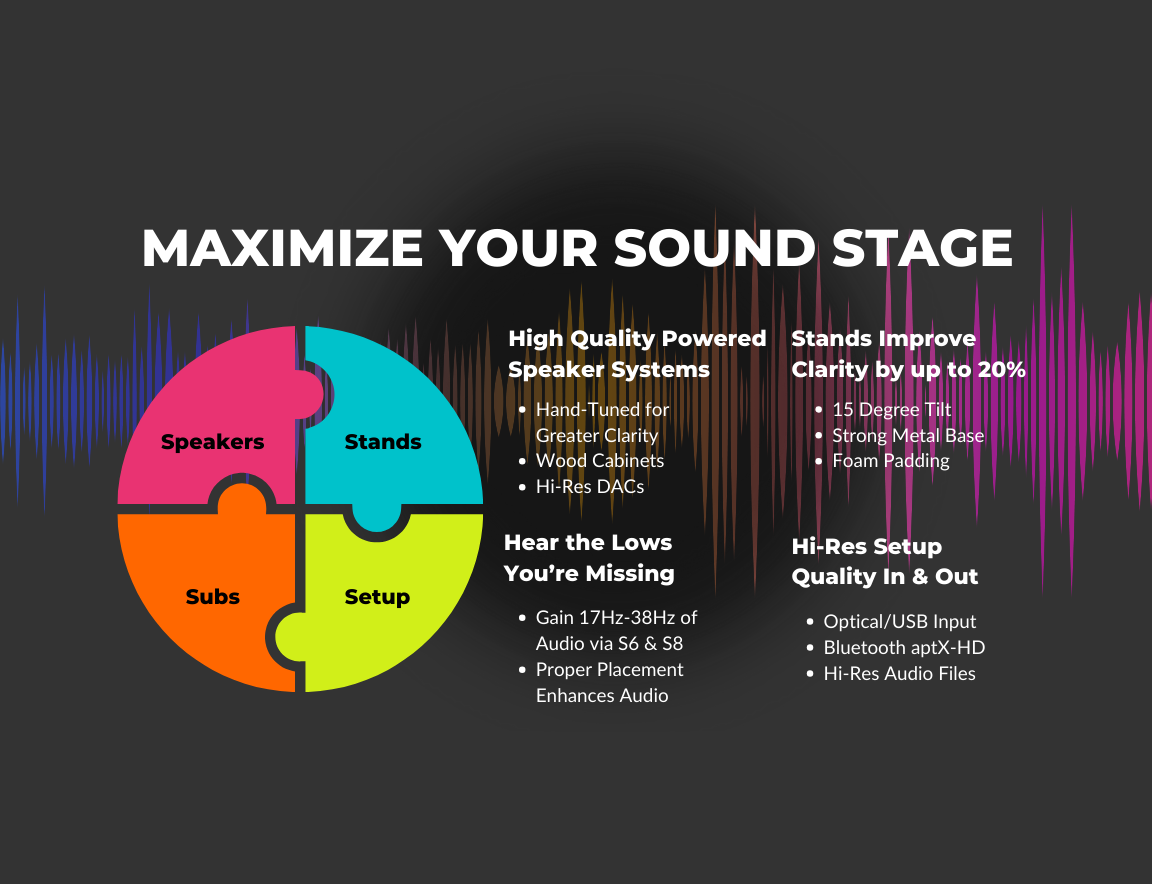
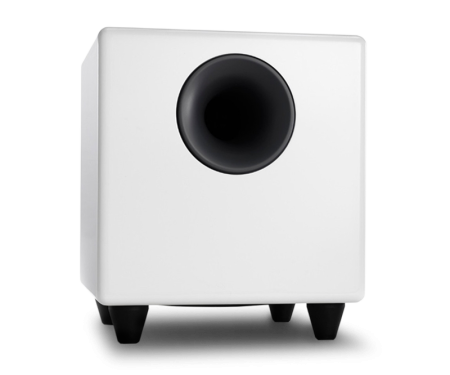
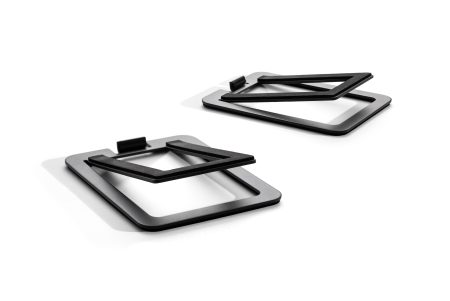
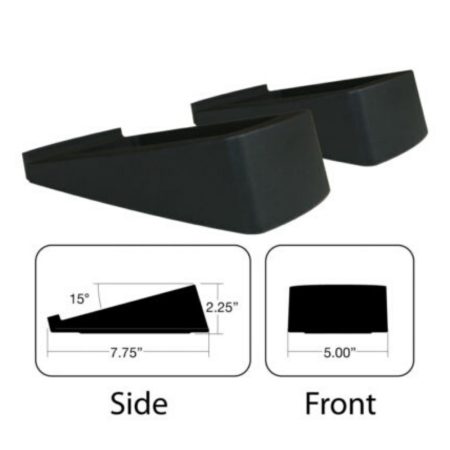
Get more music out of your sound stage by adding stands, subs, high quality connections and Hi-Res audio files to your home music system. Stands are proven to add as much as 20% more audio, while a subwoofer can add up to 38hz you’re not hearing without them. Learn more about sound stages here.
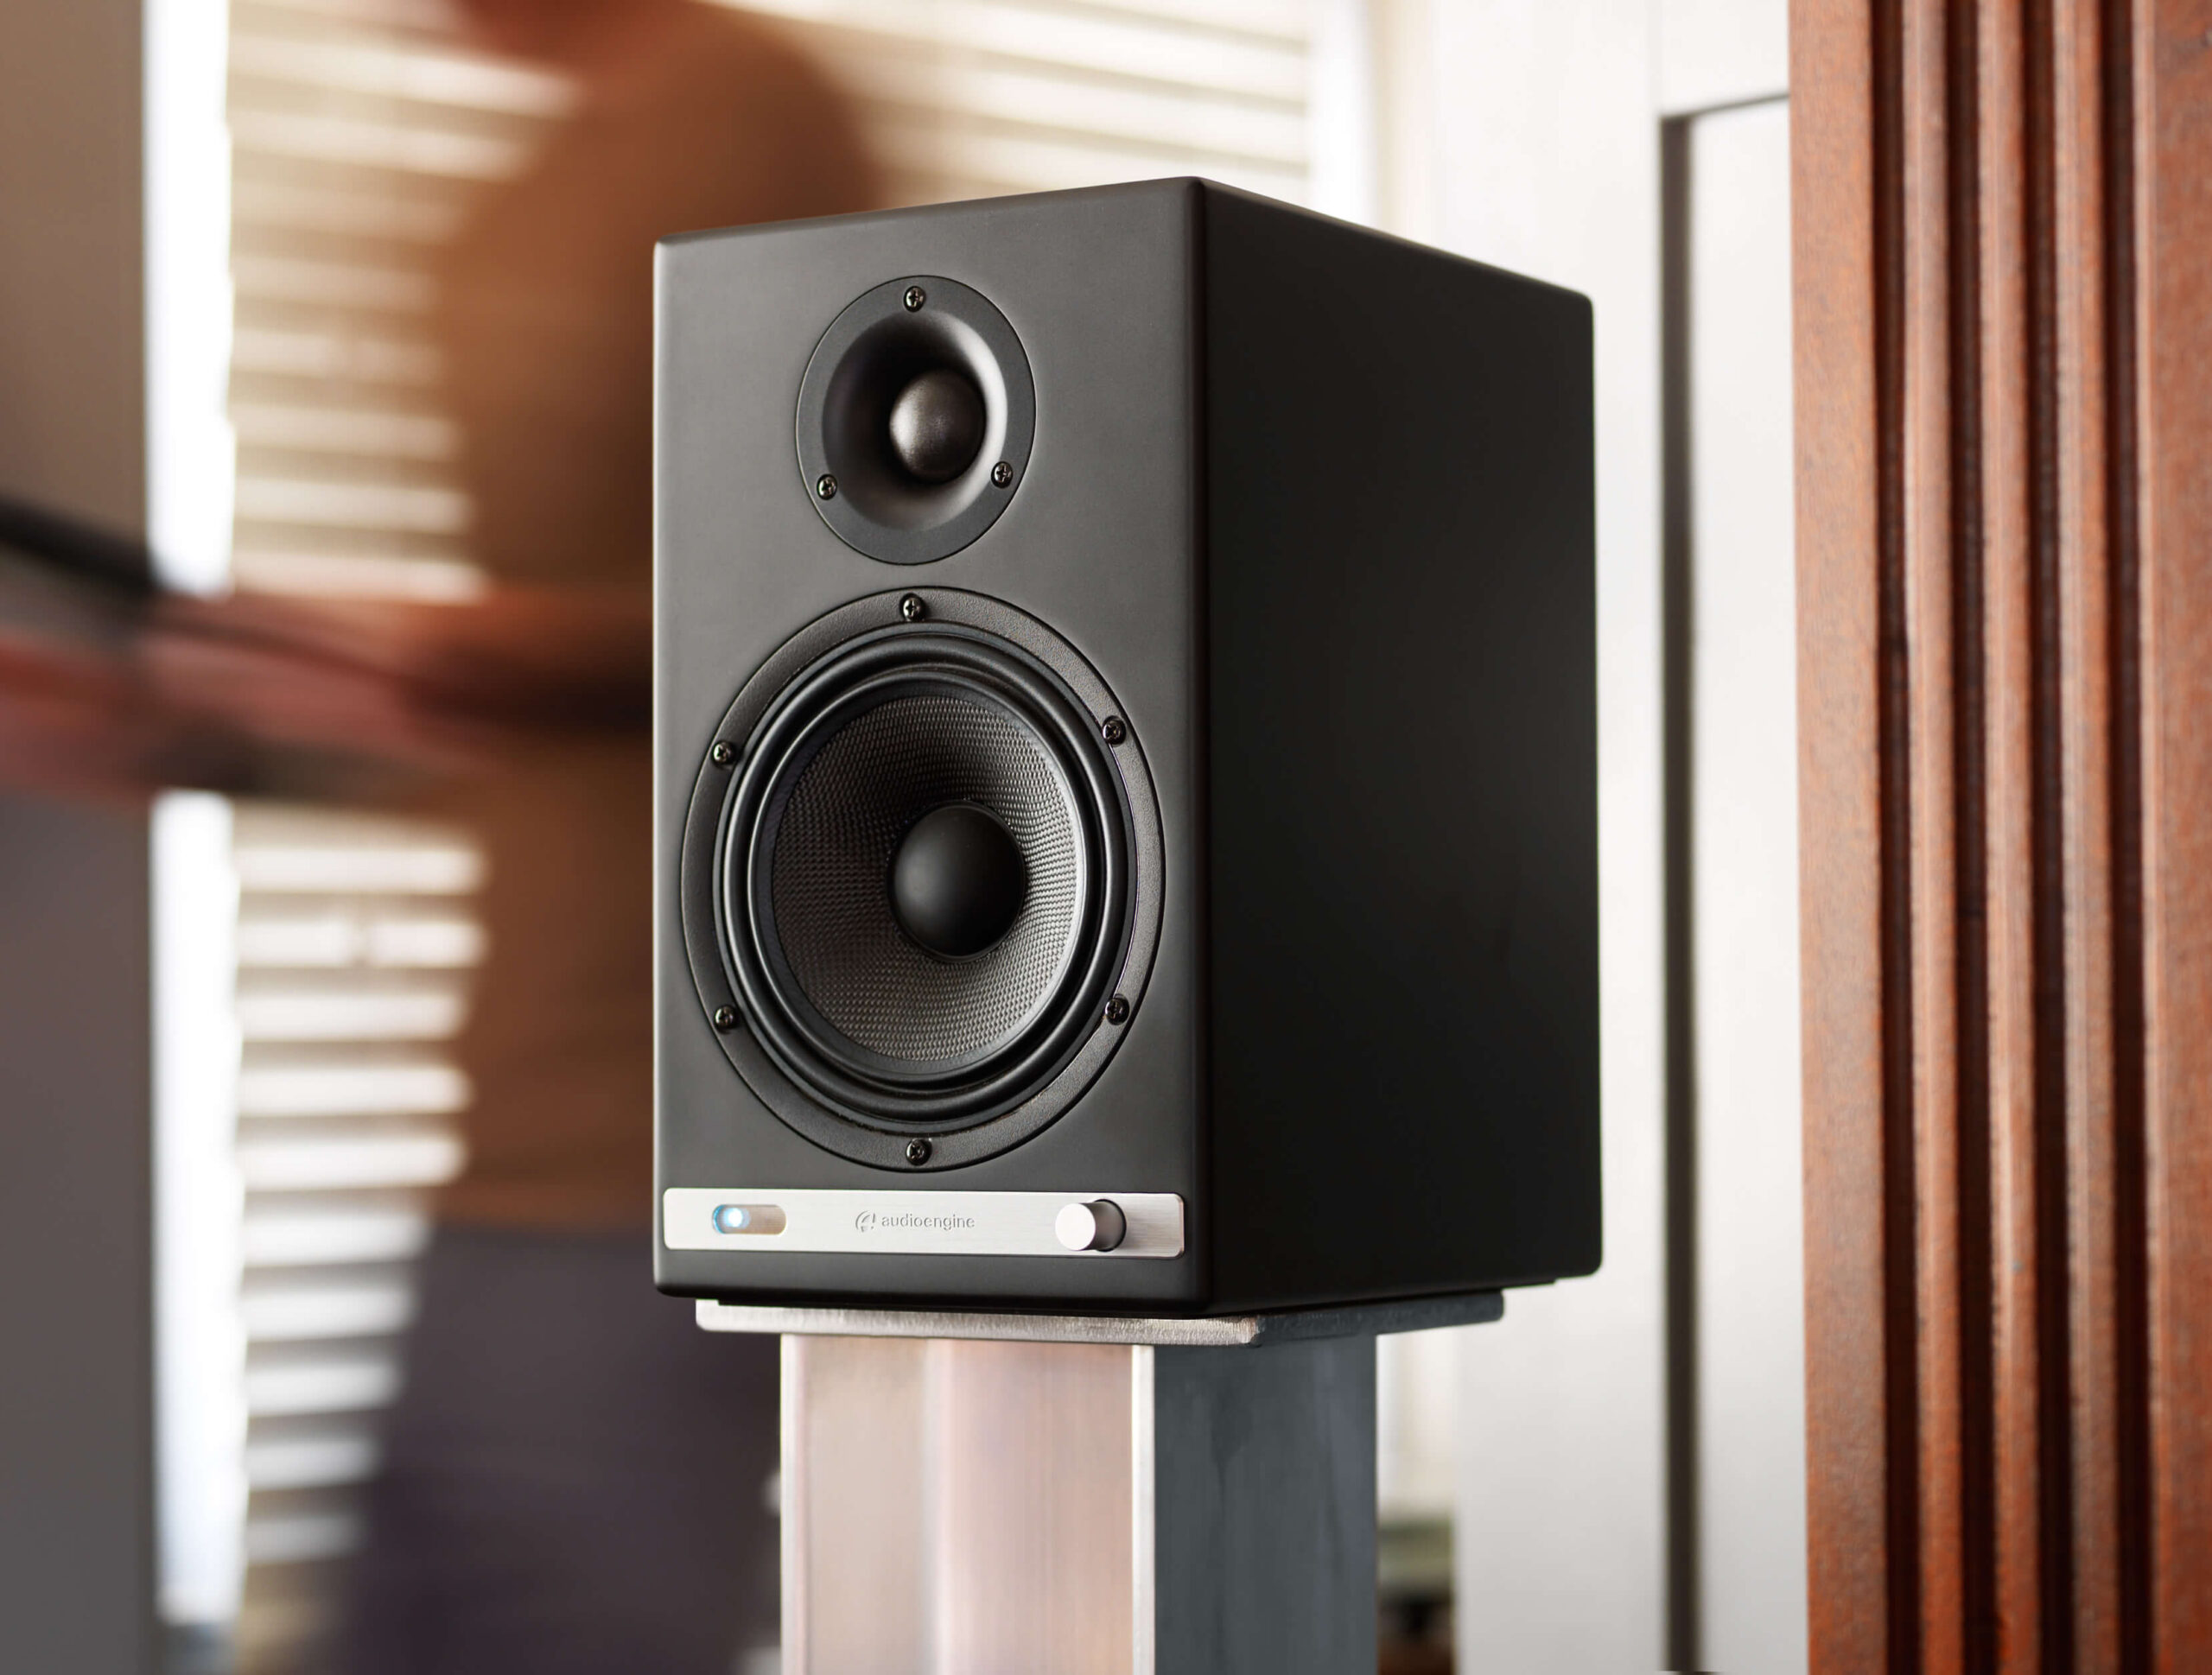
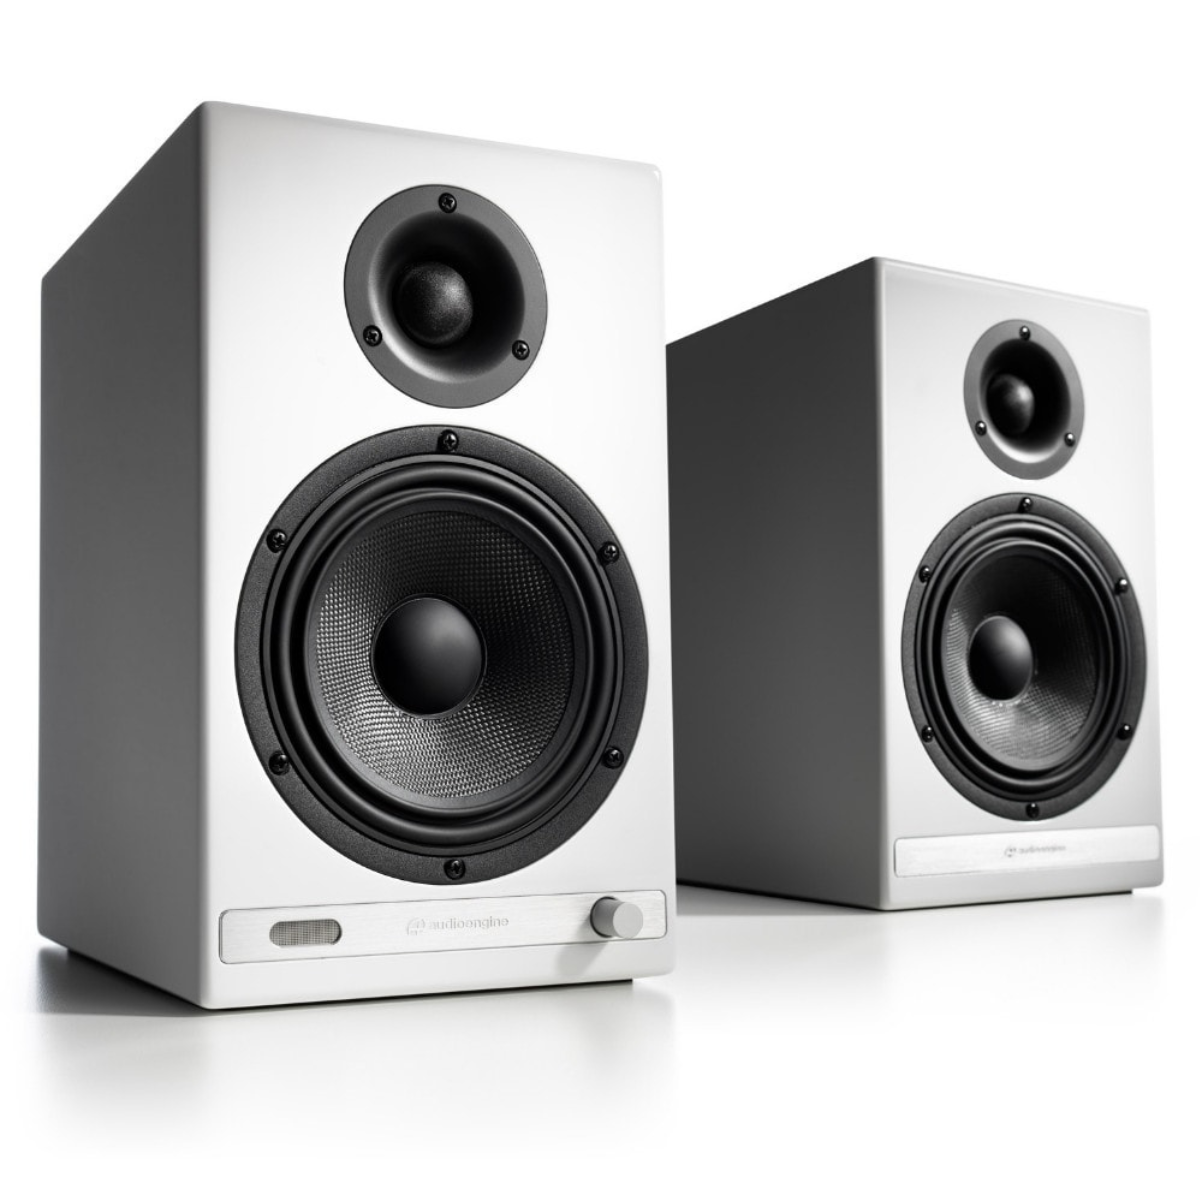
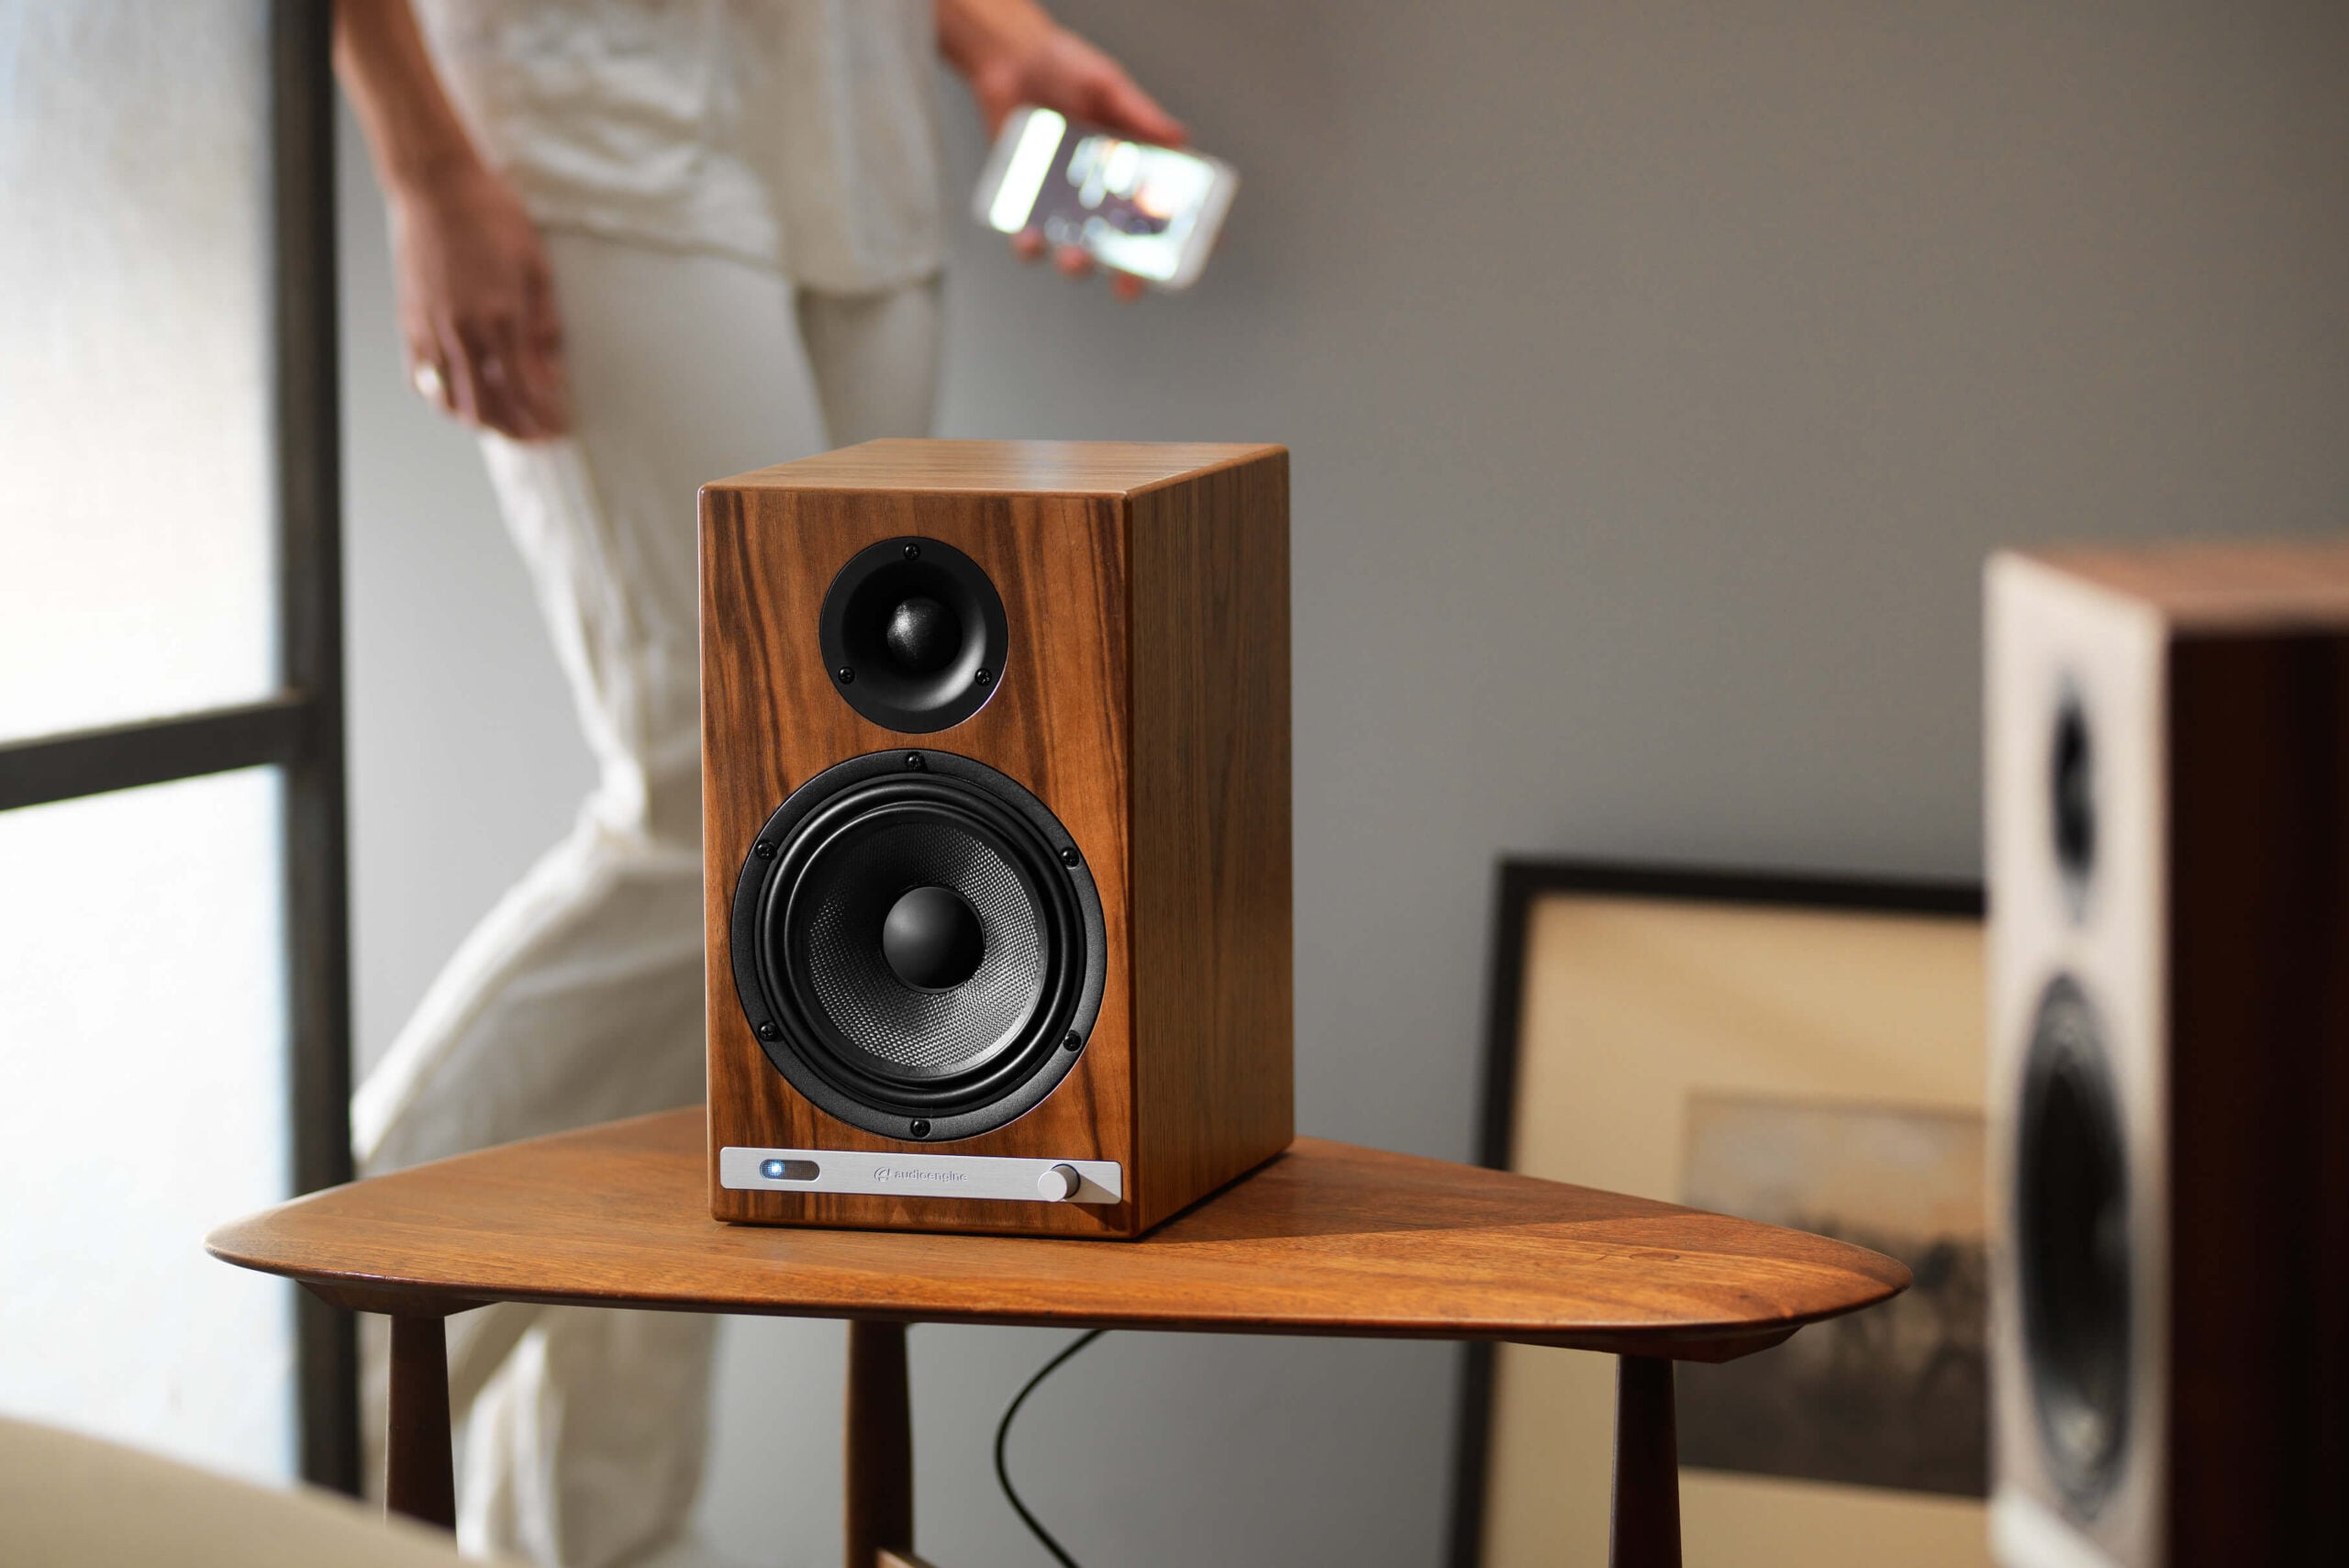
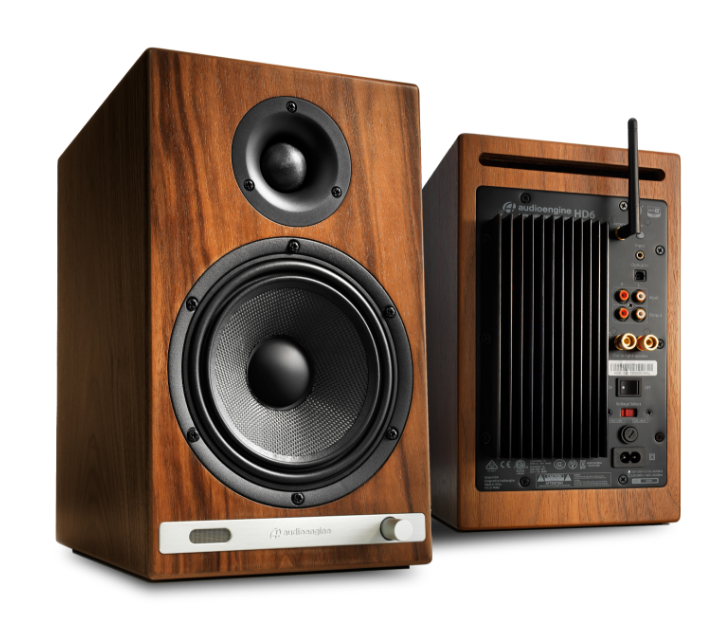
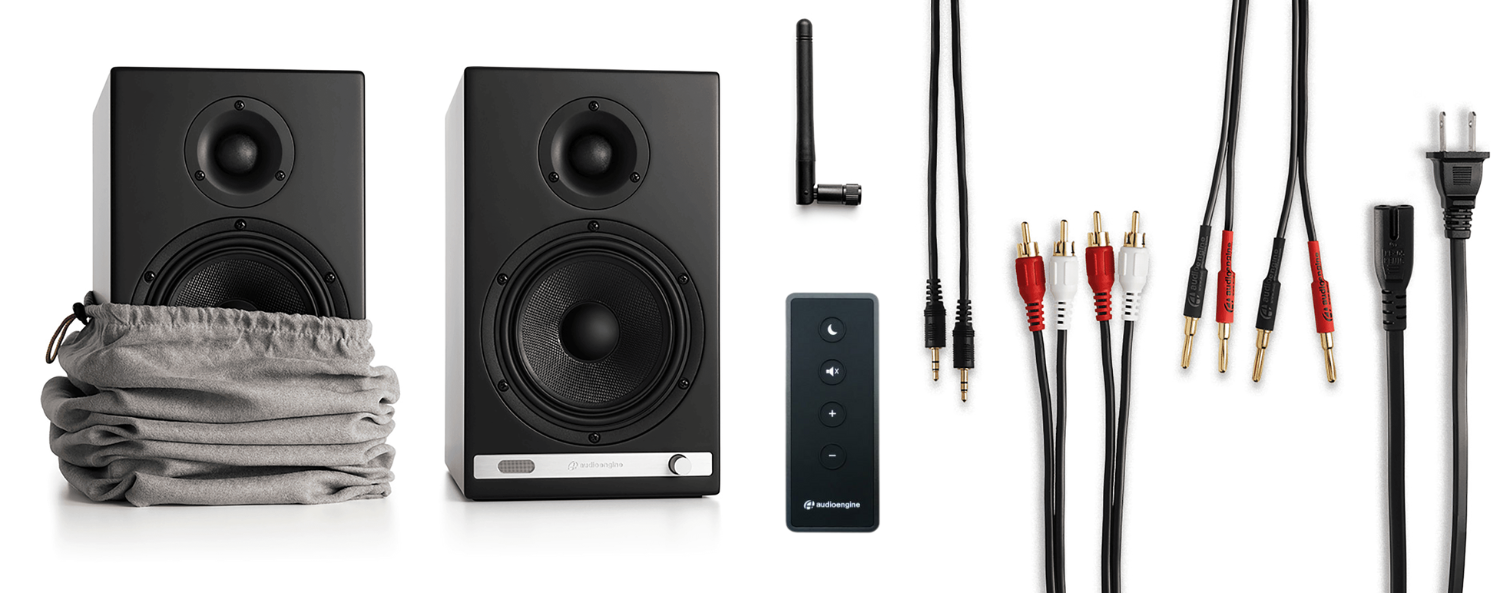
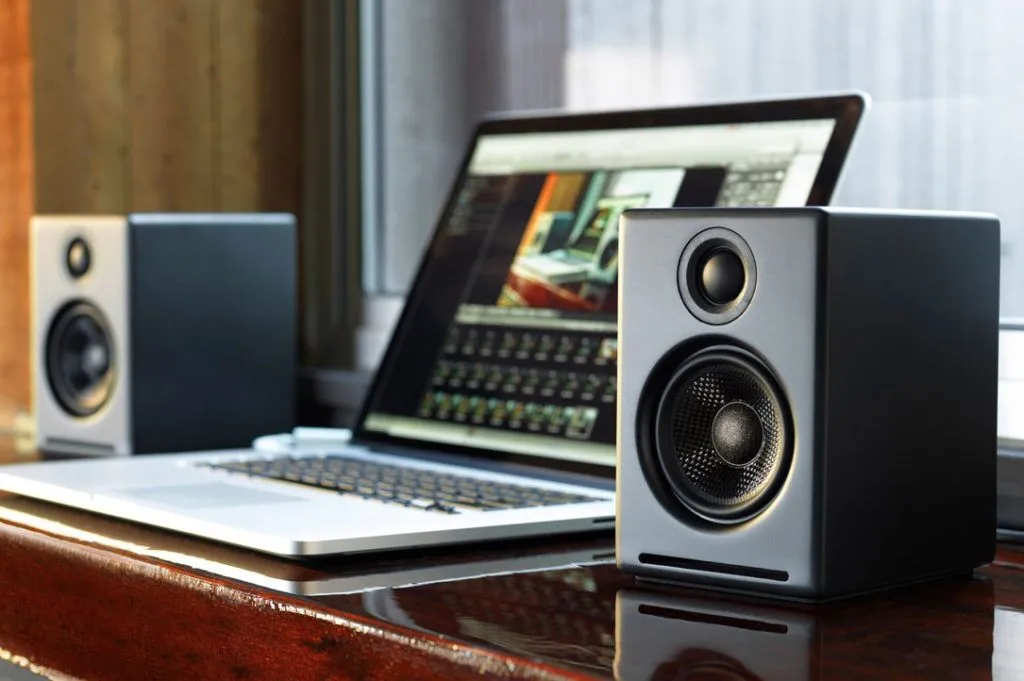
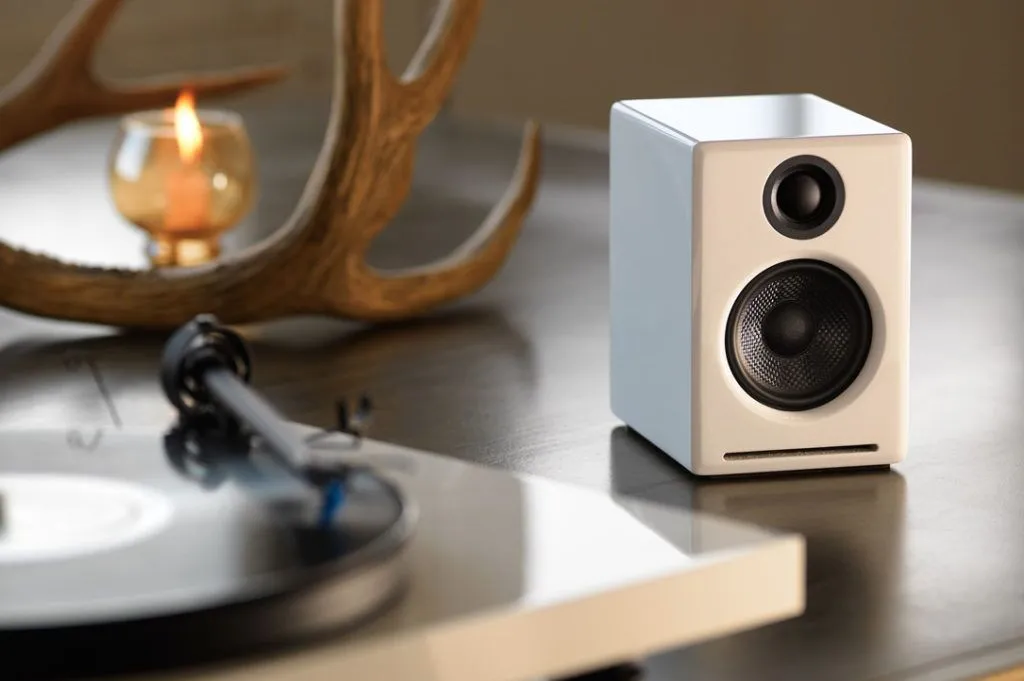
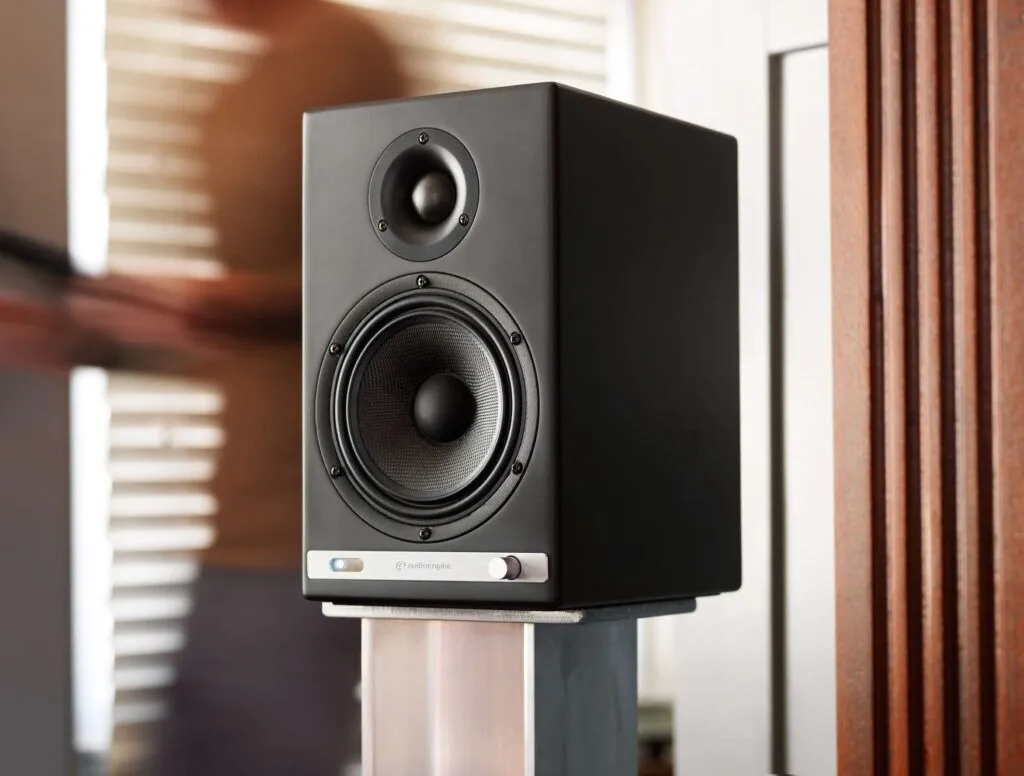
A great music system starts with great components—and the HD6 is made of nothing but the best. Aramid fiber woofers, silk tweeters, high-fidelity aptX-HD Bluetooth, and built-in power amps wrapped in precision tuned, hand-crafted cabinets. We designed the HD6 as a main TV room system but this is one music system that can handle just about anything you throw at it.
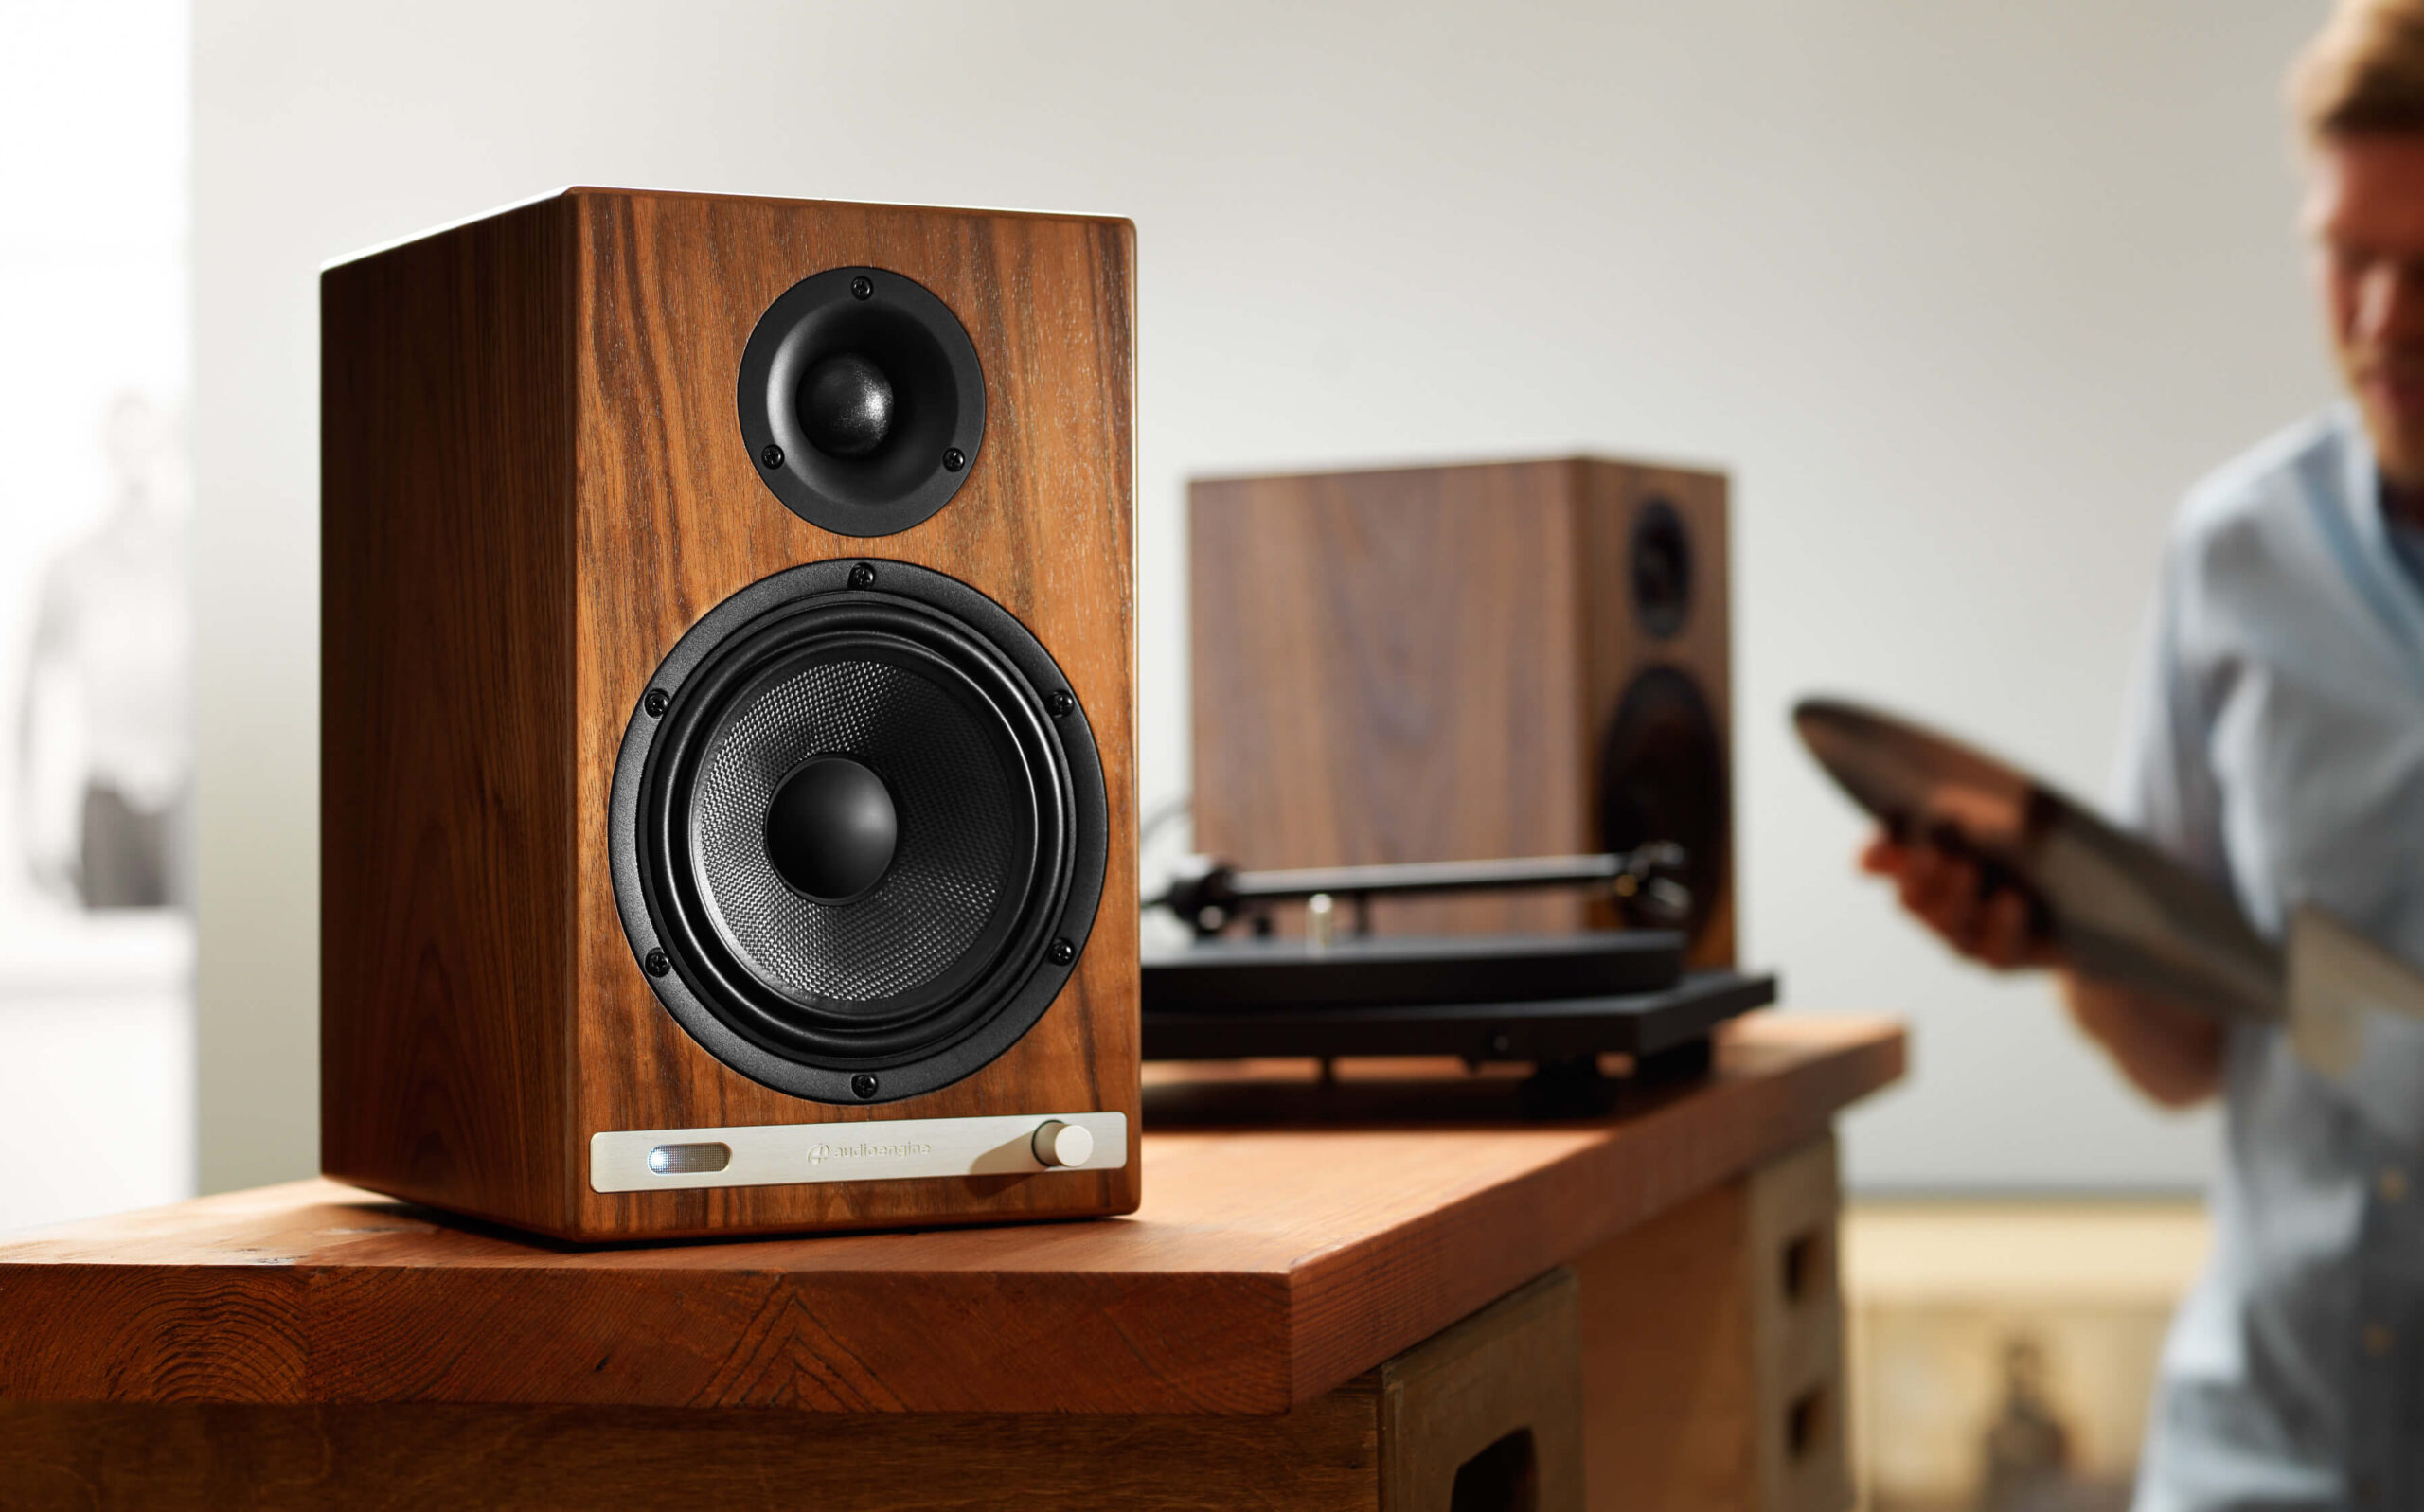
Plug in your HD6 Home Music System and you’re going to hear some amazing sounds. But connect via Bluetooth aptX-HD and you’ll hear amazing sounds with extended range that gives you room to move. Plus, Bluetooth aptX-HD works with all your apps and streaming platforms, like Tidal, Spotify, Pandora, and more. Whether you keep the cord or cut it, the HD6 always delivers fantastic sound.
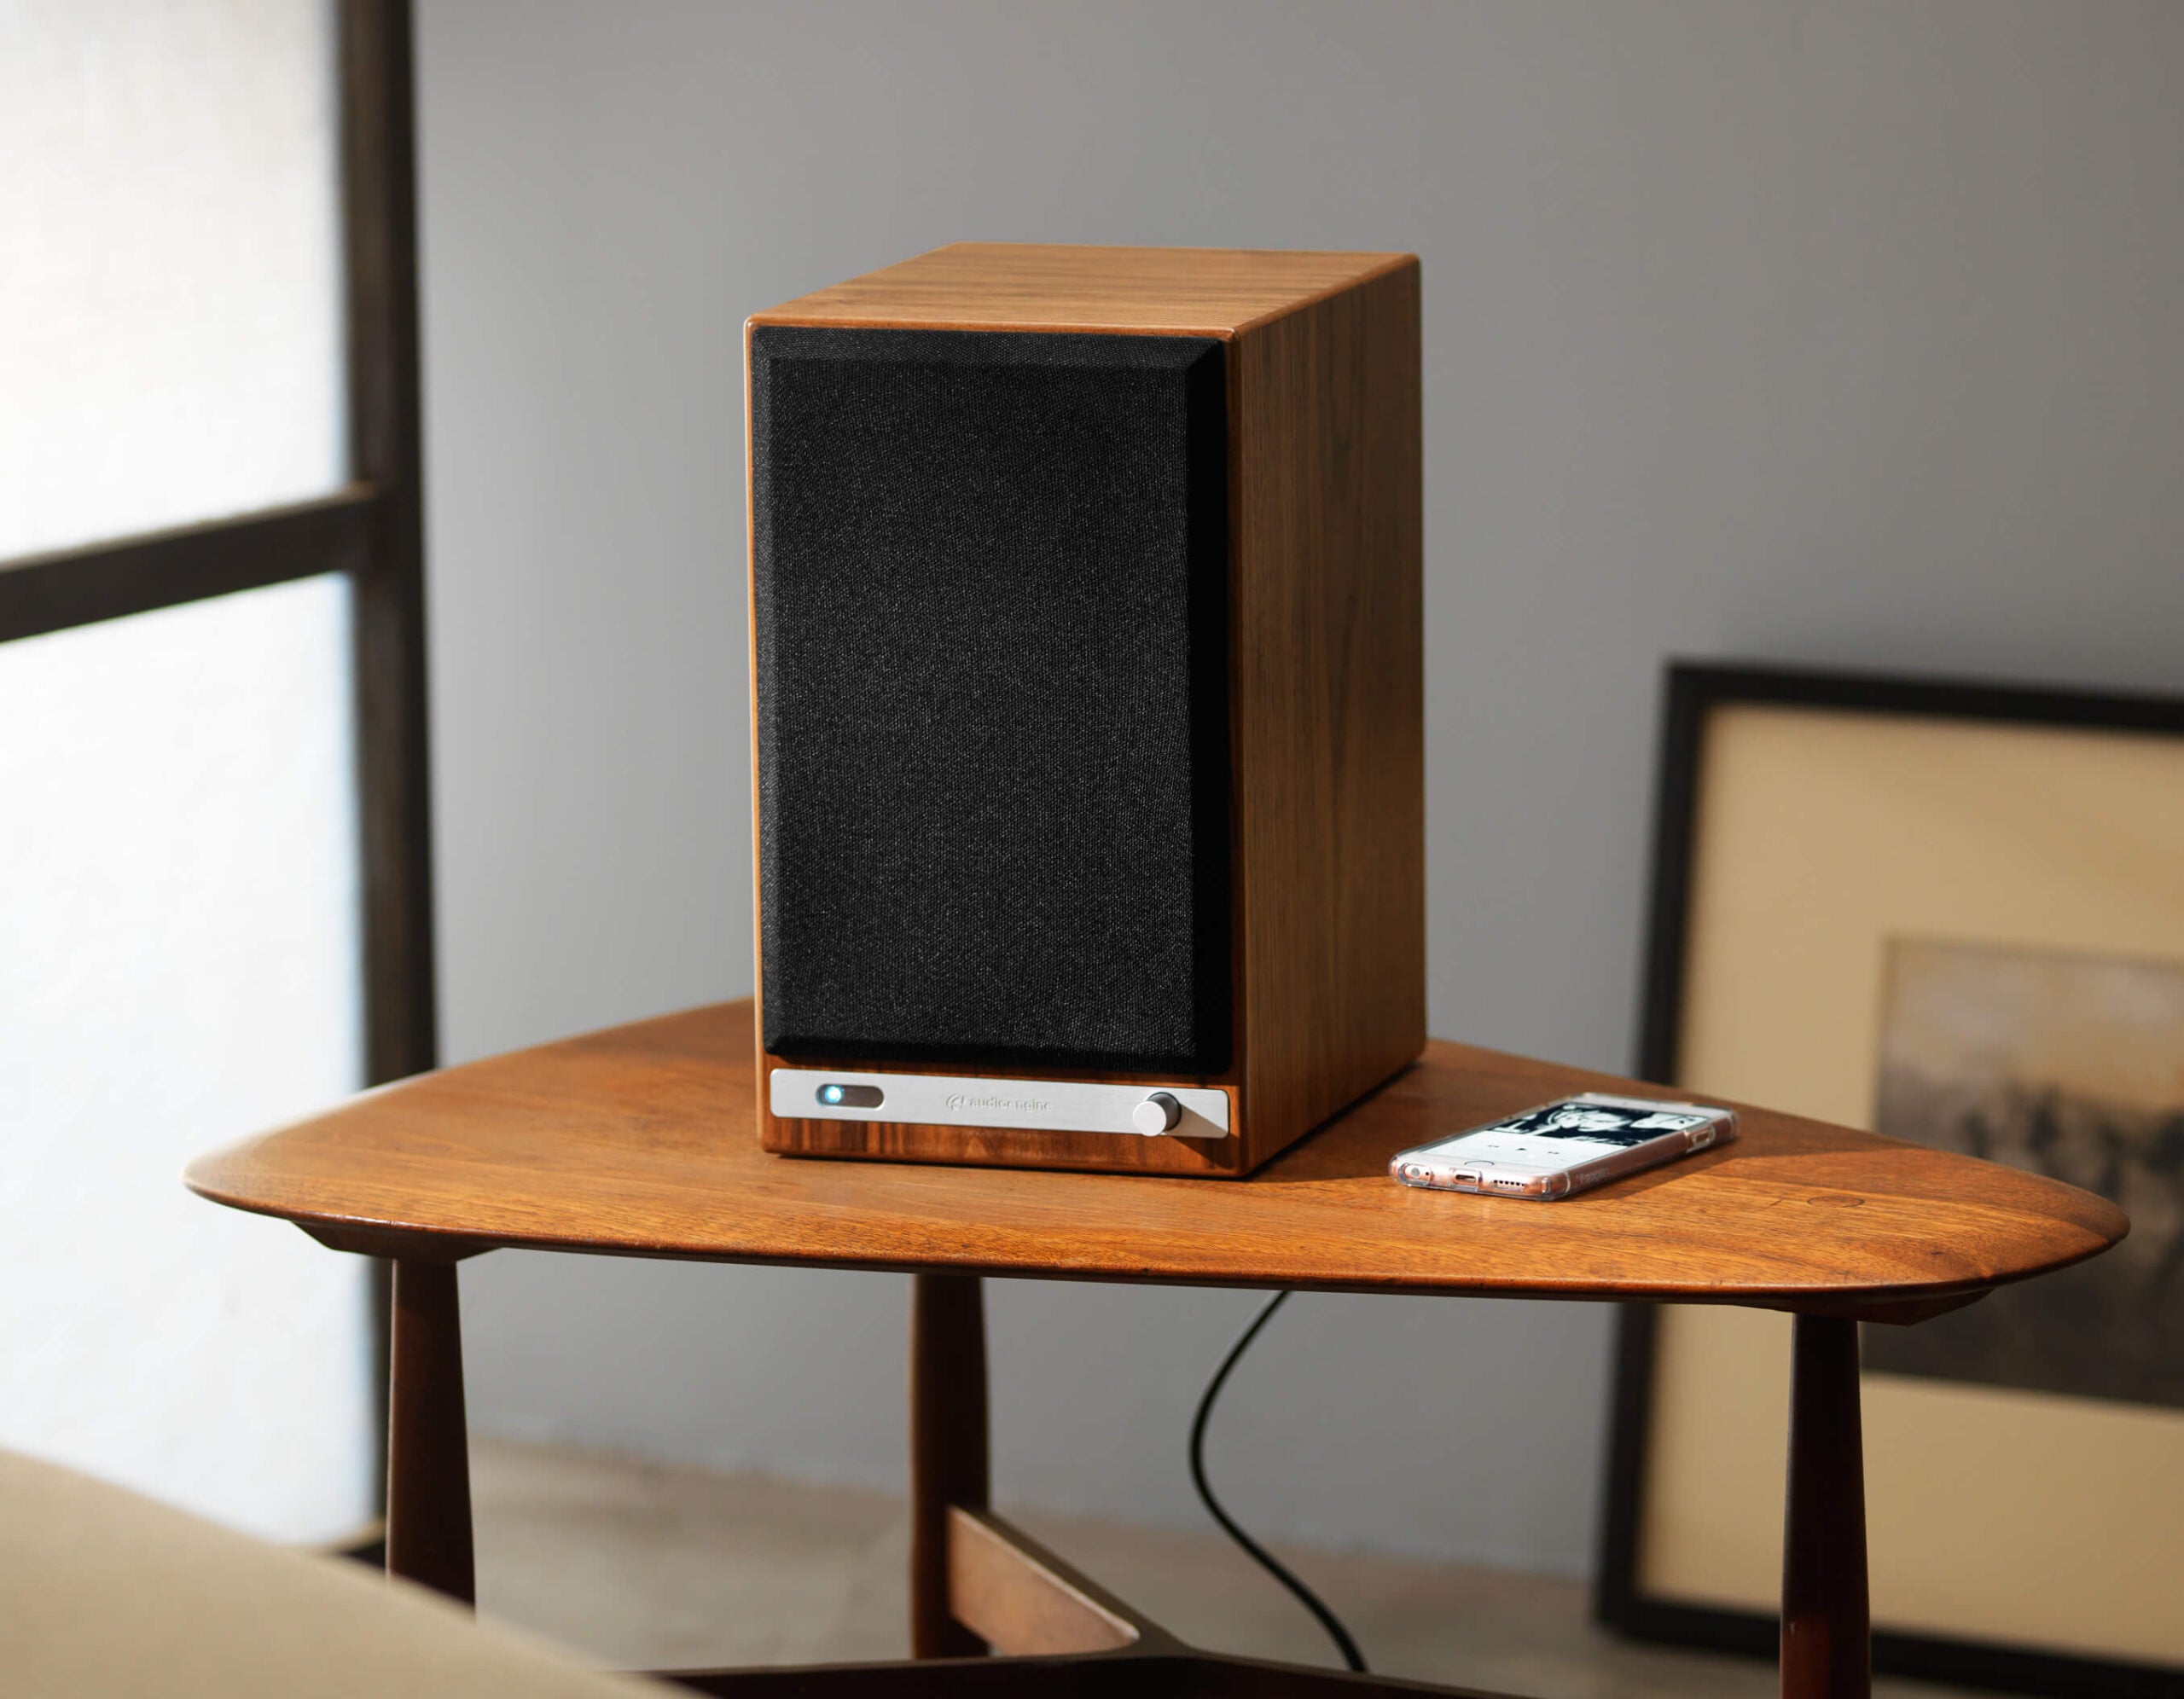
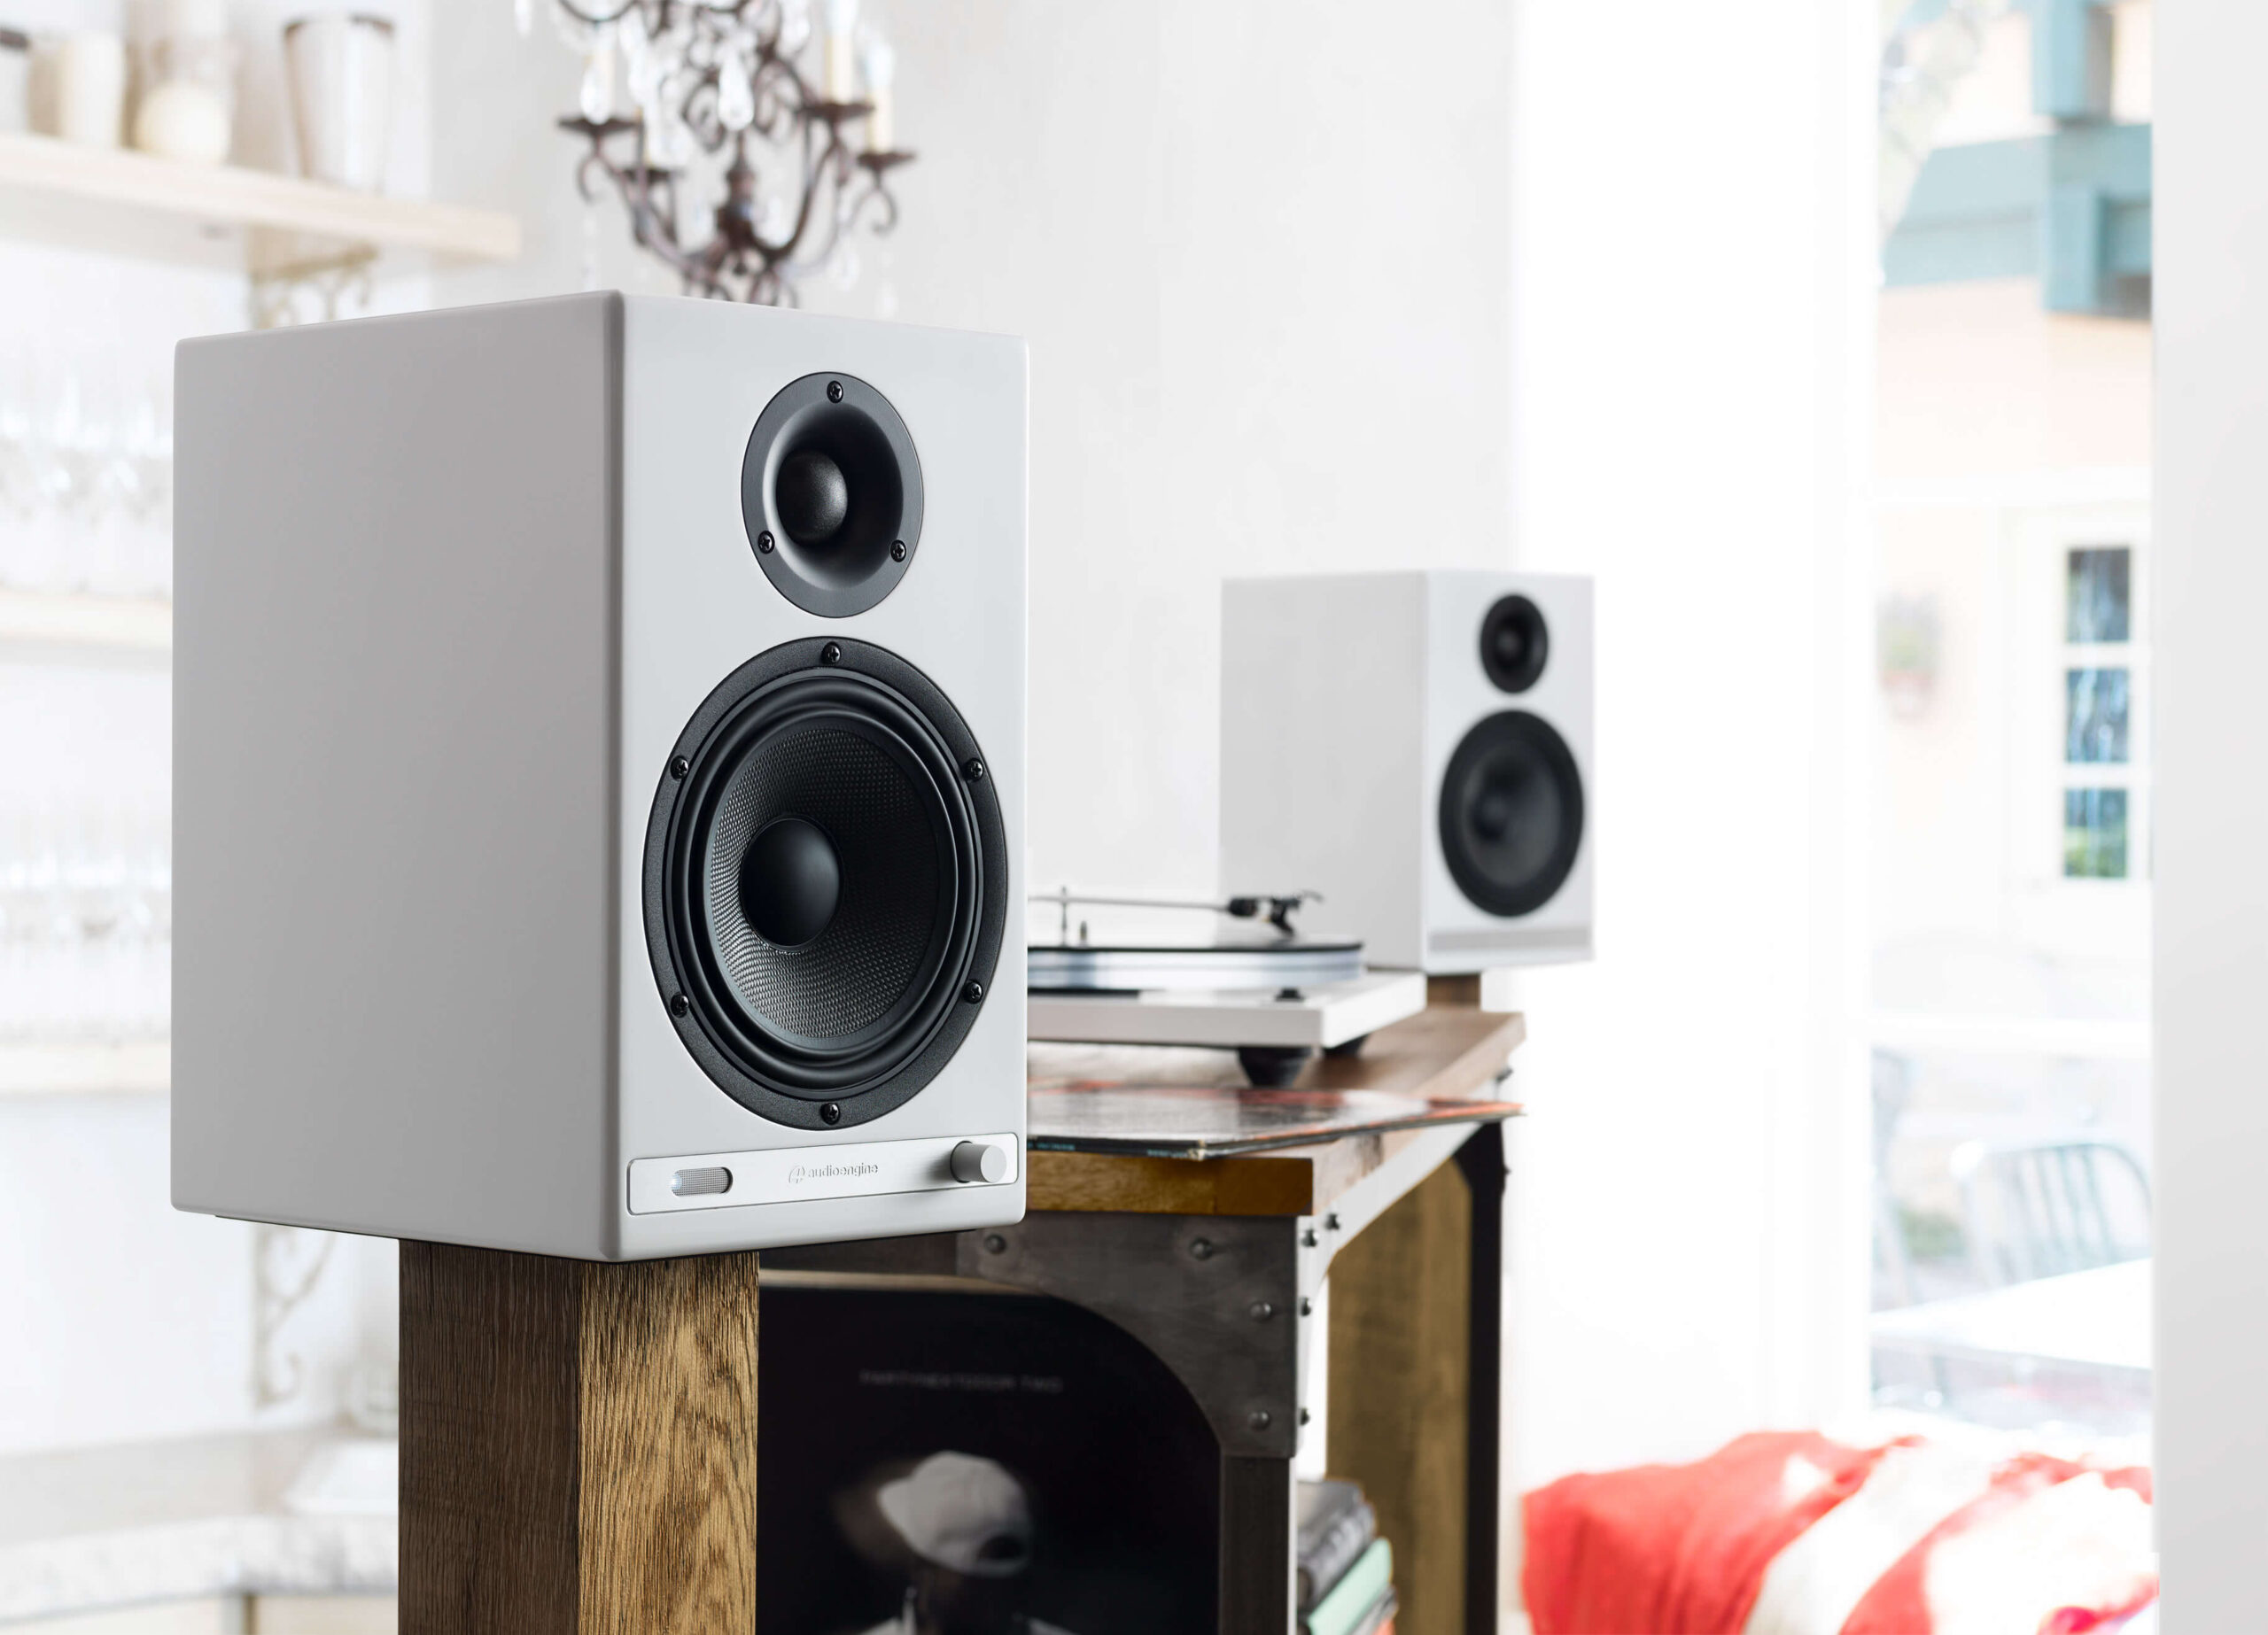
Nobody wants to spend their time setting up their music system. With the HD6 Home Music System, setup is quick and easy. Want to connect your turntable? TV? Go for it. It just takes a minute or two. Plus, there’s no network setup or passwords to enter. Setup is so simple and easy, the only thing you’ll have to spend time on is your playlist.
1. Turn Off and Unplug:
2. Dust the Surfaces:
3. Wipe Down the Exterior:
4. Clean the Speaker Grills:
5. Clean Buttons and Knobs:
6. Clean Ports and Connections:
7. Let Everything Dry:
8. Regular Cleaning:
By following these steps, you can keep your Audioengine system clean and working well.
- The process for replacing a volume encoder begins with pulling the volume knob straight back from the encoder shaft
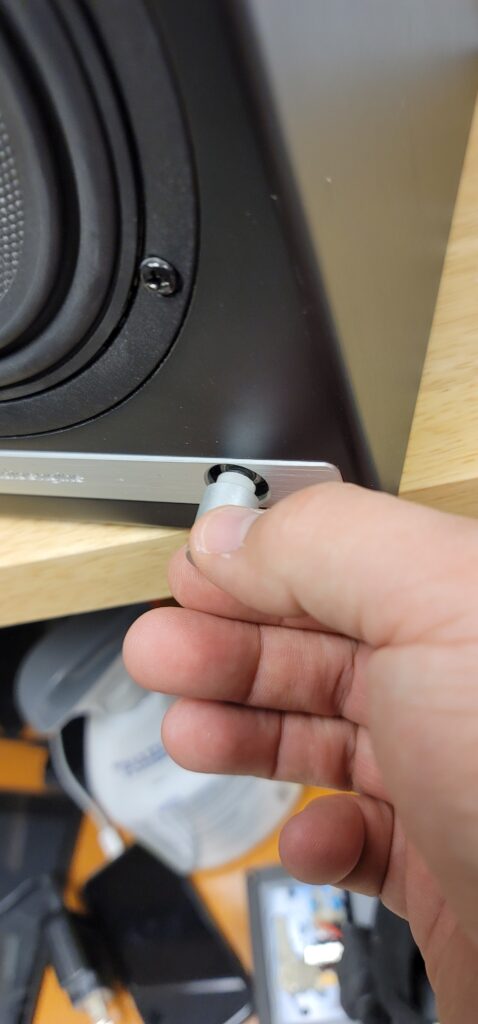
- Make sure the rubber insert stays with the volume knob -
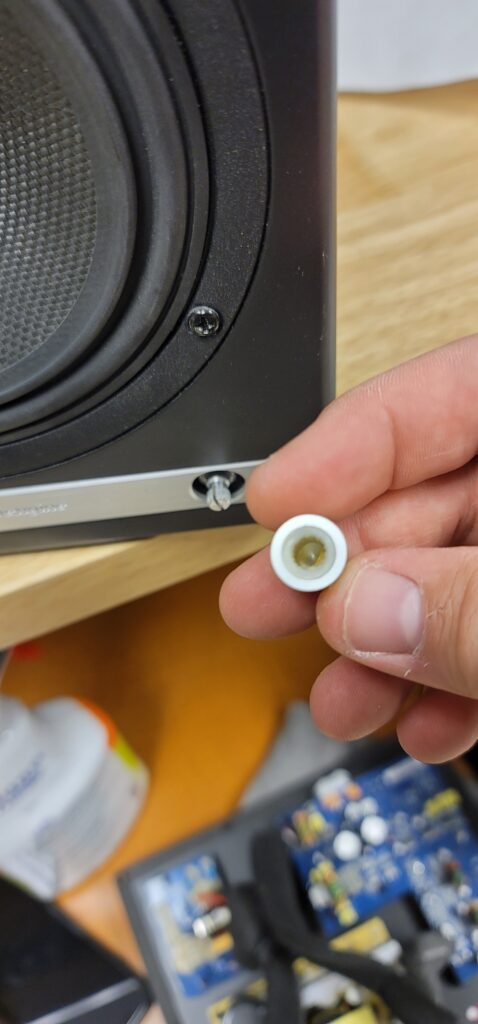
- The volume encoder shaft should look like so before proceeding -
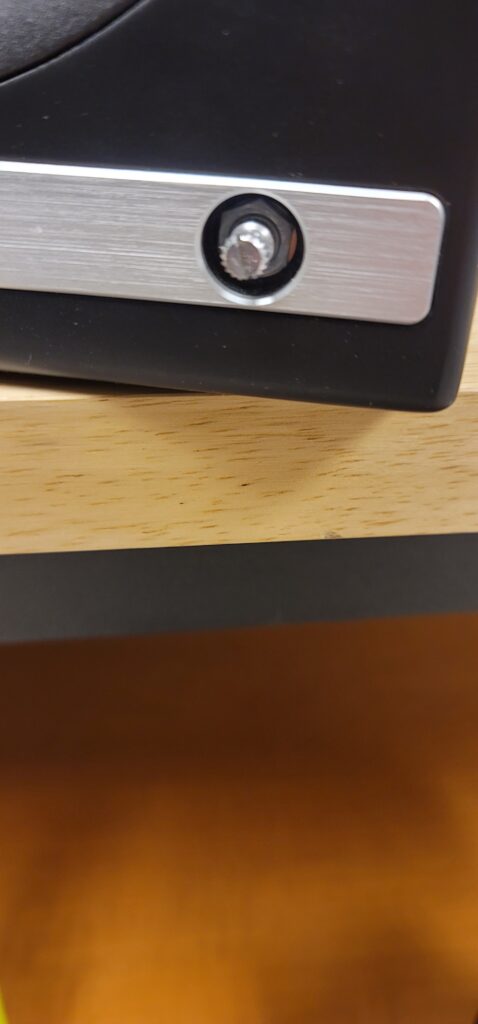
- Using a thin-walled 10mm socket, remove the lock nut fastening the encoder to the front of the speaker cabinet -
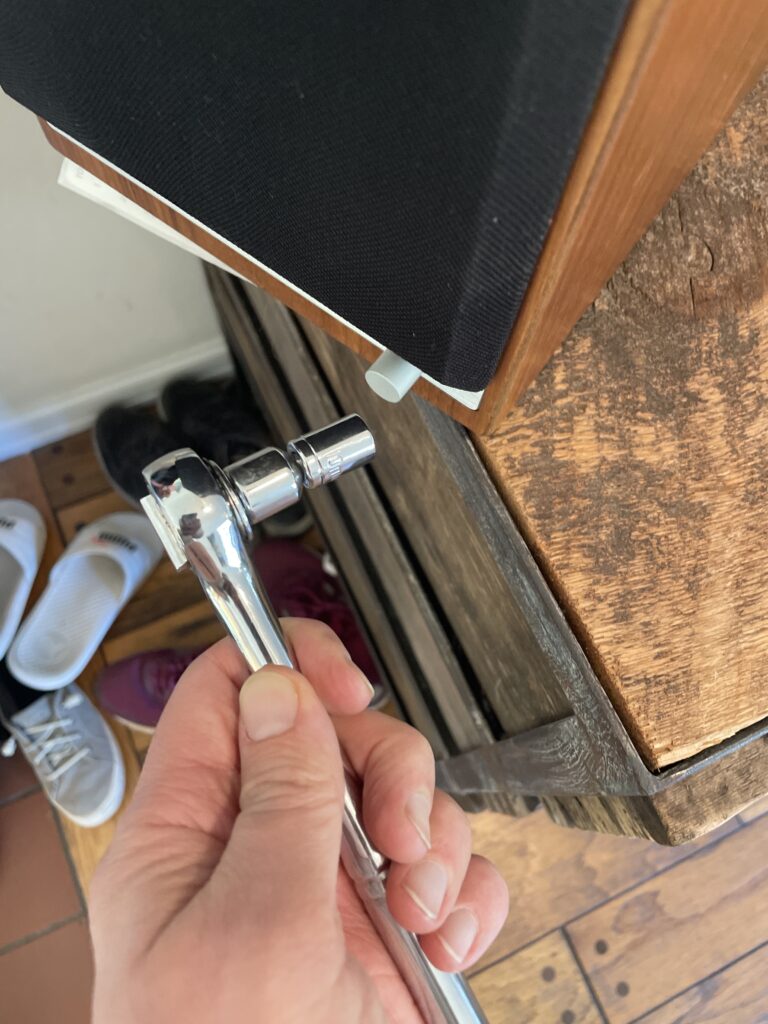
- Once you have removed the amp backplate on the back of the active speaker, make sure to remove the encoder wiring terminal clip from the amp circuit board. You can then fully uninstall the encoder assembly by pulling back the encoder shaft from the inside -
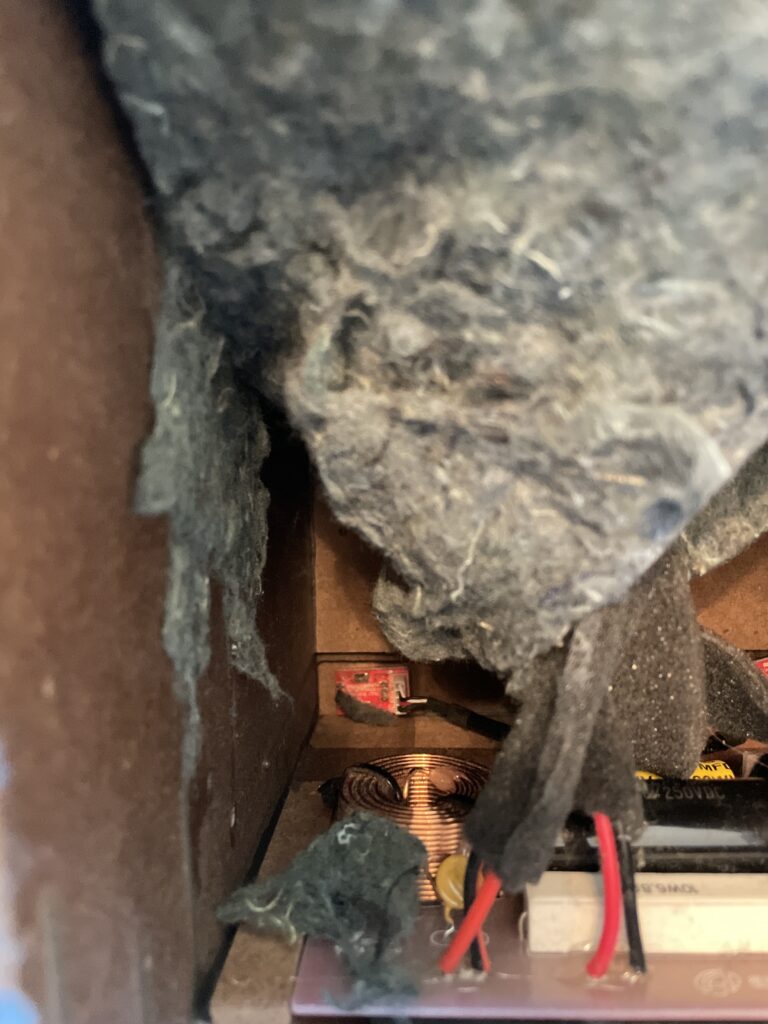
- Finally, the IR receiver can be removed by using a long-necked Phillips PH1 screw driver to remove the 2 screws fastening the IR receiver on the inside of the cabinet -
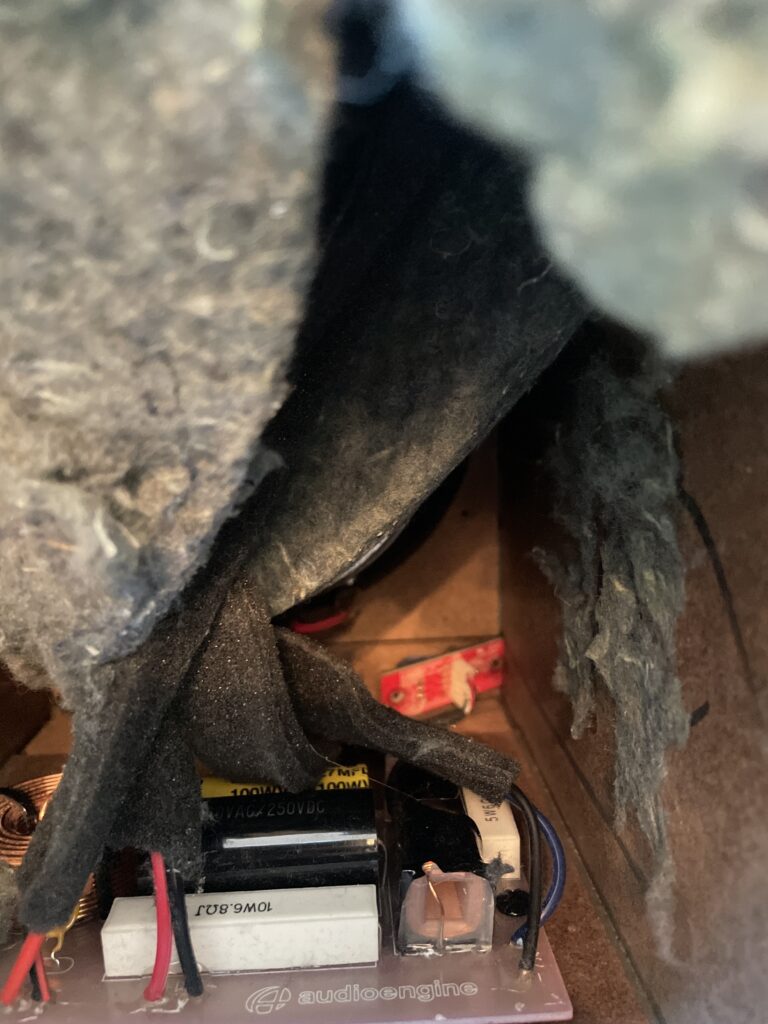
After fully removing the faulty encoder, the replacement can be installed following these steps in reverse order before finally connecting the wiring clip to the amp circuit board and fastening the amp backplate back onto the active speaker.
The process can be a bit cramped if you wish to do as little disassembly as possible, or a bit easier if you are comfortable moving parts to give yourself more workspace. The sound damping insulation normally overlaps at the bottom of the active cabinet. This can be peeled back similar to the reference picture attached. The crossover is mounted underneath this insulation (If process being done on an HD6) and is perhaps the most obtrusive part when replacing a volume encoder. This has two Philips head screws mounting it to the base of the cabinet along with an adhesive pad to reduce noise vibration. It is possible to remove the two screws and lift the adhered crossover up from the base of the cabinet momentarily to get better access to the IR receiver and volume knob assemblies at the front. If you'd rather not risk damaging anything, the IR receiver can still be unscrewed from the inside of the cabinet with a long-necked Phillips PH1 driver. The volume knob is loosened from the outside of the cabinet with a thin-walled 10mm socket found by pulling the volume knob straight back from the encoder shaft. Ample lighting will also make this work easier
Each Speaker is 11.25"H x 7"W x 10.5"D
All Optical audio is considered a "fixed" output, meaning volume will not attenuate from the TV remote. If you have an HD5/HD6 you can use the Audioengine remote for this. Fo
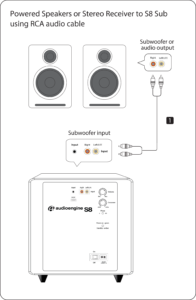










 HD6 Home Music System w/ Bluetooth aptX-HD
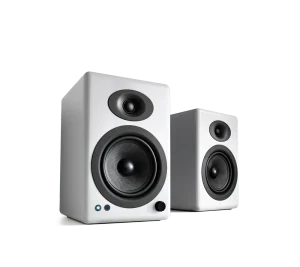 A5+ Home Music System w/ Bluetooth aptX-HD
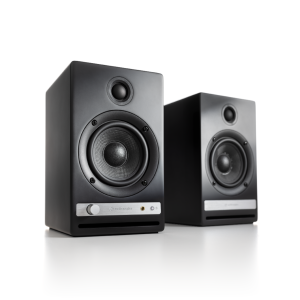 HD4 Next Gen Home Music System w/ Bluetooth aptX Adaptive
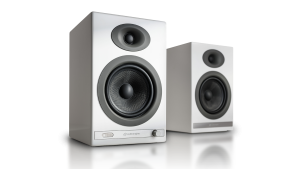 HD5 Home Music System w/ Bluetooth aptX-HD