
How to Set Up Your First Turntable: A Guide for Music Lovers
Embarking on the rewarding journey of vinyl playback with your first turntable is an exciting venture for any music lover or audiophile. Understanding the setup intricacies of your turntable is crucial for achieving the best sound quality from your Audioengine home music system.
This guide will walk you through the key steps of setting up your turntable, including adjusting the stylus overhang, tracking weight, and anti-skating, among other essential details.
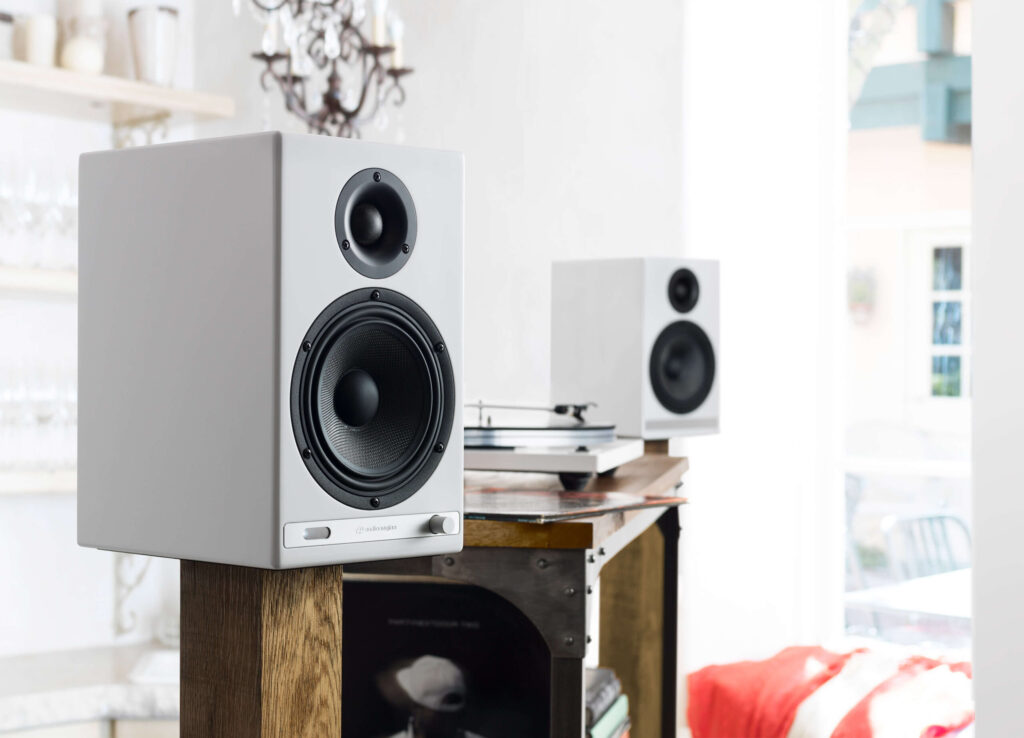
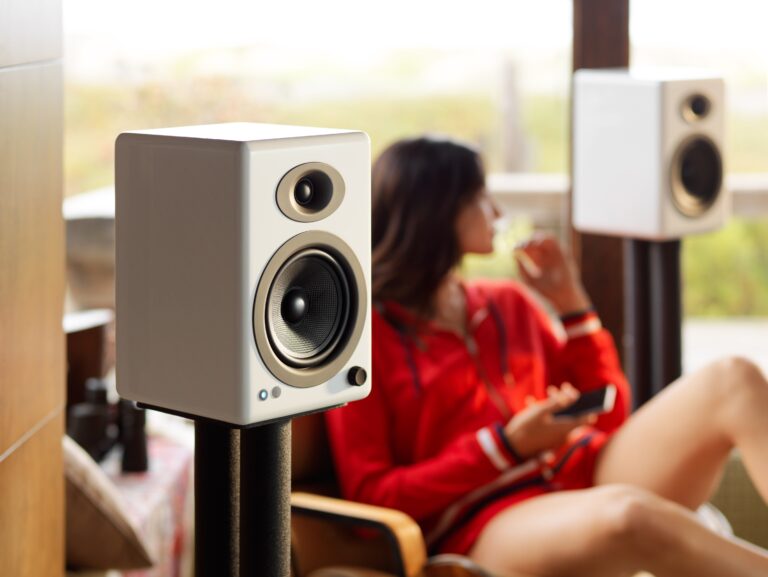
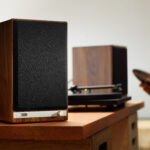
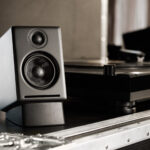
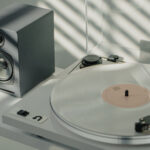
Audioengine HD6 Home Music System
Step 1: Placing Your Turntable
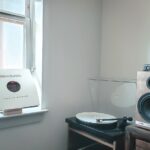
Firstly, place your turntable on a stable, level surface. This minimizes unwanted vibrations which can affect sound quality. Avoid placing it near speakers or in a location prone to foot traffic. The stability and positioning are critical in ensuring precise playback and prolonging the life of your vinyl records.
Step 2: Setting the Stylus Overhang
The stylus overhang refers to how far the needle extends beyond the turntable’s spindle. Proper adjustment of the overhang ensures the stylus tracks the record grooves accurately. Most turntables come with an overhang gauge or a cartridge alignment protractor. Follow the specific instructions for your model to adjust the overhang correctly. This precision is vital for extracting every nuanced detail from your records, ensuring a superior listening experience with your Audioengine system.
Step 3: Adjusting the Tracking Weight
The tracking weight determines the amount of pressure the stylus exerts on the vinyl. Setting it correctly is crucial to balance sound quality and record longevity. Too heavy, and it can damage your records; too light, and it may skip or not track properly. Use your turntable’s counterweight to adjust this: rotate it until the tonearm floats parallel to the record surface, then dial in the recommended tracking force for your cartridge. This precise calibration is key to a clear, dynamic sound reproduction.
Step 4: Calibrating Anti-Skating
Anti-skating compensates for the natural inward pull experienced by the tonearm during playback, ensuring the stylus sits perfectly in the record groove. Set the anti-skating force to match your tracking weight. This adjustment enhances stereo balance and preserves the integrity of your records and stylus, ensuring they partner seamlessly with the robust and detailed sound of your Audioengine speakers.
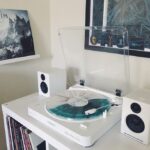
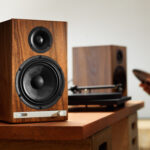
Step 5: Connecting to Your Audioengine Home Music System
With your turntable set up, it's time to connect it to your Audioengine home music system. Ensure you use high-quality cables for the connection to maintain signal purity. If your turntable has a built-in preamp, you can connect it directly to your speakers. Otherwise, you’ll need an external preamp to match the signal to your Audioengine system’s line-level input.
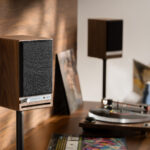
Step 6: Fine-Tuning for Optimal Sound
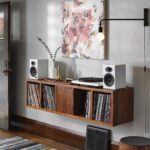
Experiment with the placement of your turntable and speakers within your room for the best soundstage and imaging. The unique handcrafted design of Audioengine home music systems offers flexibility and superior sound quality, enriching your vinyl listening experience.
If you're delving deeper into the vinyl world, the significance of a well-set-up listening room cannot be overstated. To complement our Beginners Guide on turntable setup, we've crafted an all-encompassing guide for audiophiles looking to perfect their listening environment: The Ultimate Guide to Setting Up Your Vinyl Listening Room
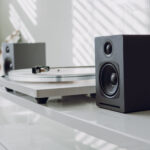
Bluetooth Connectivity: Expanding Your Turntable Experience
Before wrapping up your turntable setup, let's delve into an increasingly popular feature - Bluetooth connectivity. This modern addition to turntables brings a new level of convenience and flexibility to your vinyl experience, seamlessly integrating with your Audioengine home music system.
Bluetooth-enabled turntables offer a wireless connection, reducing clutter and providing more freedom in terms of placement. This feature is particularly beneficial for those who prefer a minimalist setup or have limited space. To connect a Bluetooth turntable to your Audioengine system, simply pair the devices through the Bluetooth settings. This process varies slightly depending on the specific models, but generally involves putting both the turntable and your Audioengine system in pairing mode and selecting the turntable from your system’s Bluetooth menu.
One of the most significant advantages of Bluetooth connectivity is the ability to enjoy your vinyl collection without compromising on sound quality. Audioengine’s home music systems are designed to deliver crystal-clear, studio-quality sound, whether connected via cables or Bluetooth. This means you can enjoy the warmth and richness of vinyl with the convenience and clarity that modern technology offers.
Conclusion
Setting up your first turntable might seem daunting, but with these steps, you can ensure a high-quality setup that brings out the best in your vinyl collection. Paired with Audioengine’s home music systems, your records will sound more lively and immersive, providing an unmatched auditory experience.
Dive into the world of vinyl with confidence and enjoy the deep, rich sounds that only a well-set-up turntable and a top-tier audio system like Audioengine can deliver. Remember, the journey to audio perfection is both rewarding and enlightening, offering a deeper connection to the music you love.