1. Turn Off and Unplug:
- Make sure your system is turned off and unplugged.
2. Dust the Surfaces:
- Use a soft, dry cloth to wipe away dust.
- For hard-to-reach places, use a soft brush or a can of compressed air.
3. Wipe Down the Exterior:
- We do not recommend using any solvents
- If cleaning off stains or build-up is necessary, we recommend doing so with a very small amount of mild cleaning solution applied only to the affected area, followed by quickly wiping the area dry completely.
- Any scoured pads or objects like a 'magic eraser' too easily run the risk of removing sealers and top coats of the painted finish that can leave a clearly visible change in the uniformity of the paint/finish
4. Clean the Speaker Grills:
- The speaker grills can be gently cleaned with a vacuum, preferably using a soft bush attachment.
- A lint roller can also be used.
5. Clean Buttons and Knobs:
- A dry cloth is recommend for cleaning any knobs, buttons or other surfaces
- Be careful not to let water get into any gaps.
6. Clean Ports and Connections:
- Use compressed air to blow out dust from ports and connections.
7. Let Everything Dry:
- Make sure everything is completely dry before plugging back in and turning on.
8. Regular Cleaning:
- Dust your system regularly to keep it in good shape.
By following these steps, you can keep your Audioengine system clean and working well.
Audioengine operates two websites, audioengine.com and audioengineeu.com. If you go to any other site but these, they are not an Audioengine site. For Canada, Mexico and most of Europe and the UK, we only sell through Amazon. There are also a host of authorized retailers and sites across the US, and they can be found here. For international sales, we have distributors that operate independently, and they can be found here.
What happens if I buy from an authorized site claiming to be Audioengine? Unfortunately, there is not much we can do. We are taking all the action we can to make sure those sites don't get indexed, but we recommend you work with the provider of the card you used to make payment to get your money back.
The Audioengine remote takes a CR2025 battery.
- The process for replacing a volume encoder begins with pulling the volume knob straight back from the encoder shaft
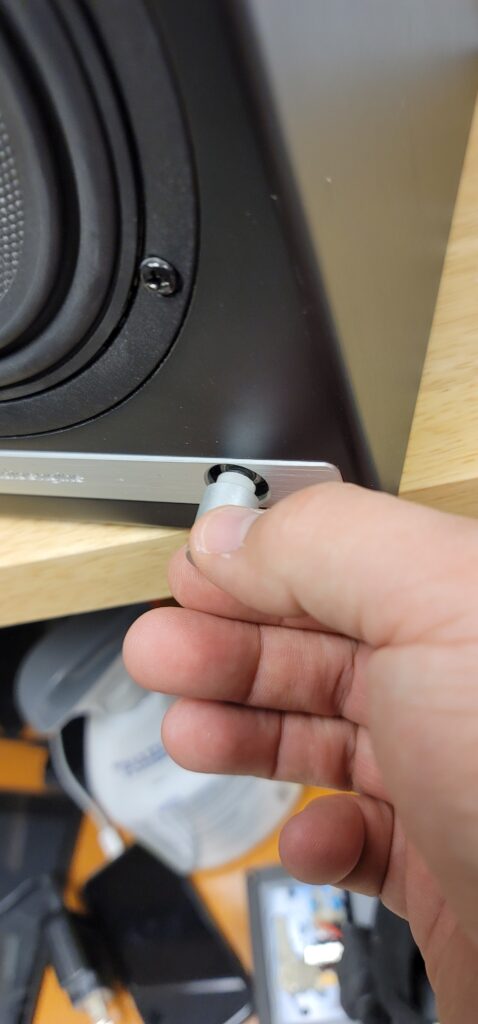
- Make sure the rubber insert stays with the volume knob -
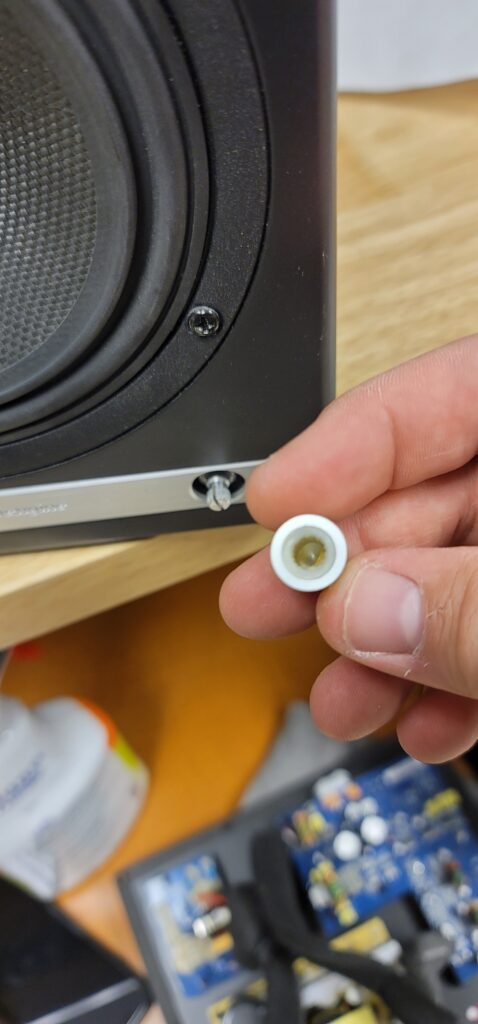
- The volume encoder shaft should look like so before proceeding -
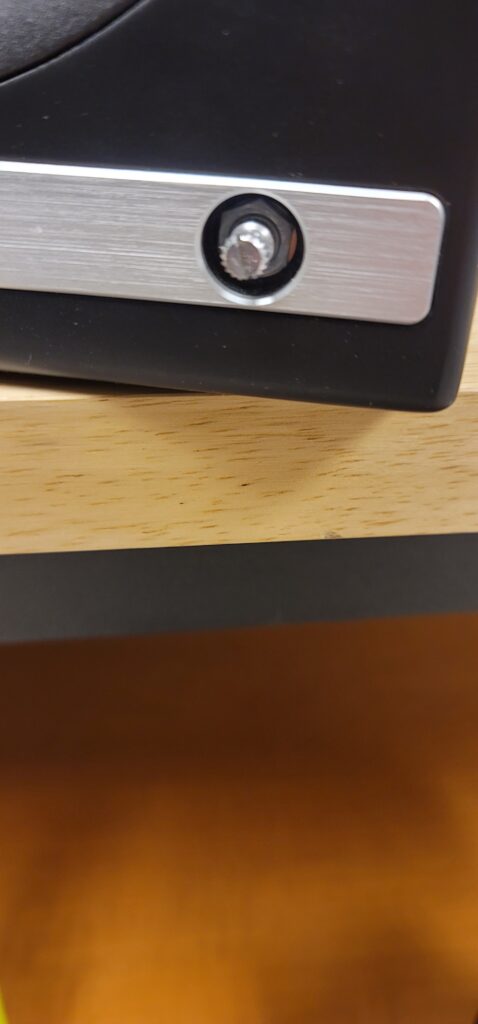
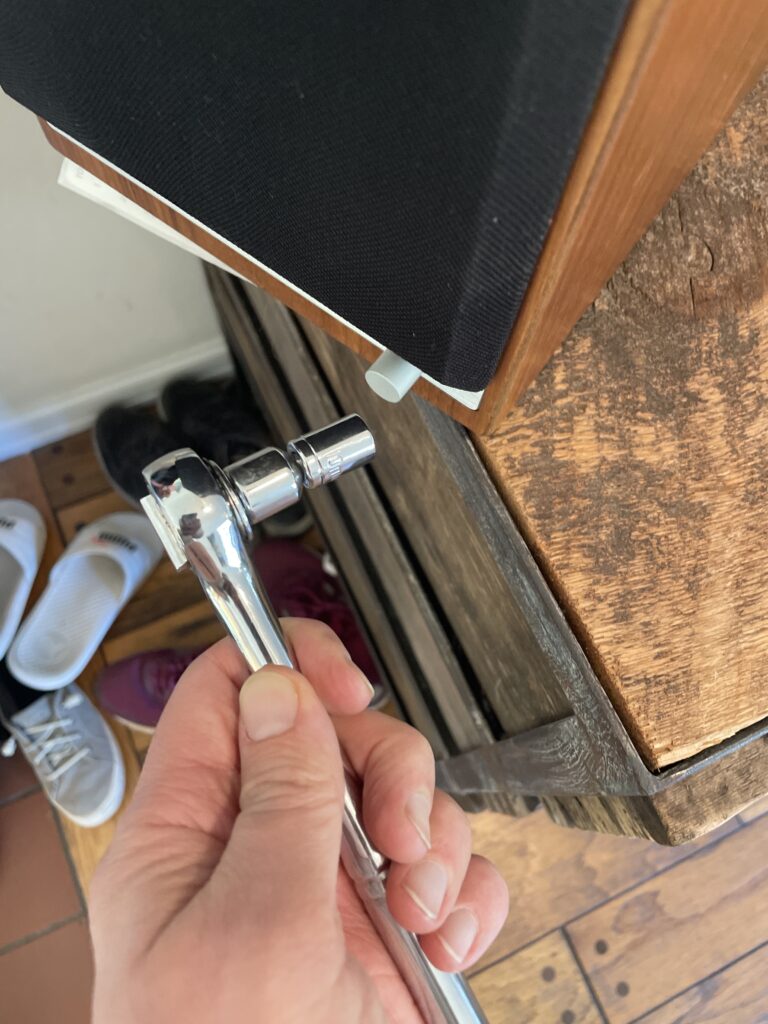
- Using a thin-walled 10mm socket, remove the lock nut fastening the encoder to the front of the speaker cabinet -
- Once you have removed the amp backplate on the back of the active speaker, make sure to remove the encoder wiring terminal clip from the amp circuit board. You can then fully uninstall the encoder assembly by pulling back the encoder shaft from the inside -
- Finally, the IR receiver can be removed by using a long-necked Phillips PH1 screw driver to remove the 2 screws fastening the IR receiver on the inside of the cabinet -
After fully removing the faulty encoder, the replacement can be installed following these steps in reverse order before finally connecting the wiring clip to the amp circuit board and fastening the amp backplate back onto the active speaker.
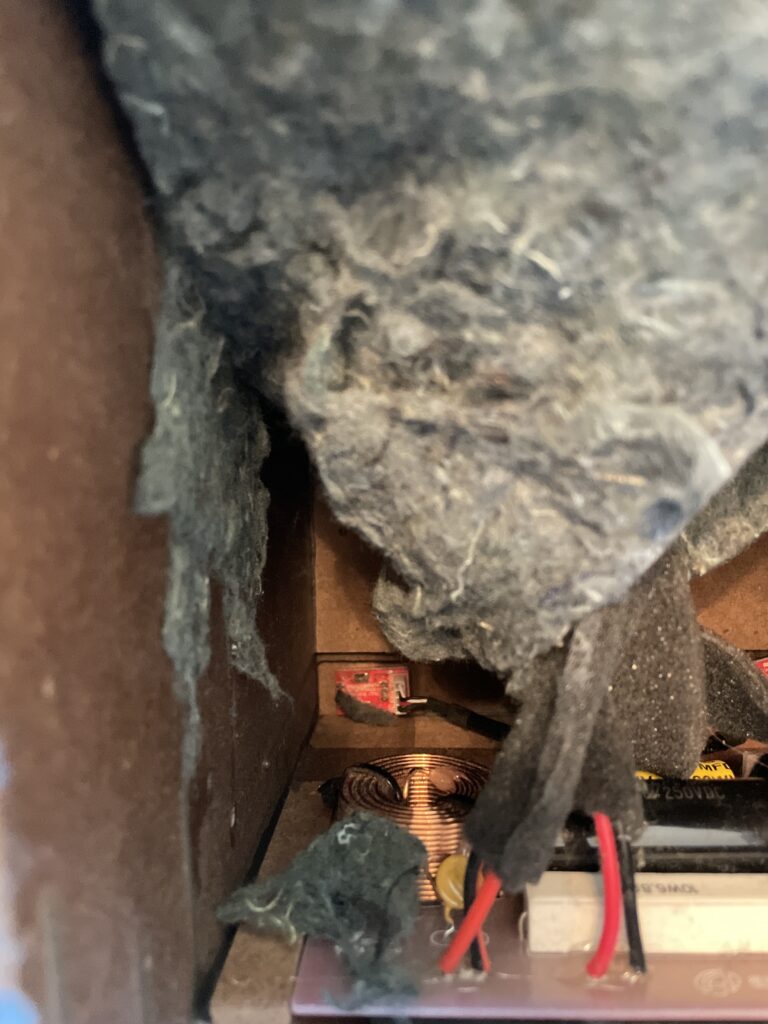
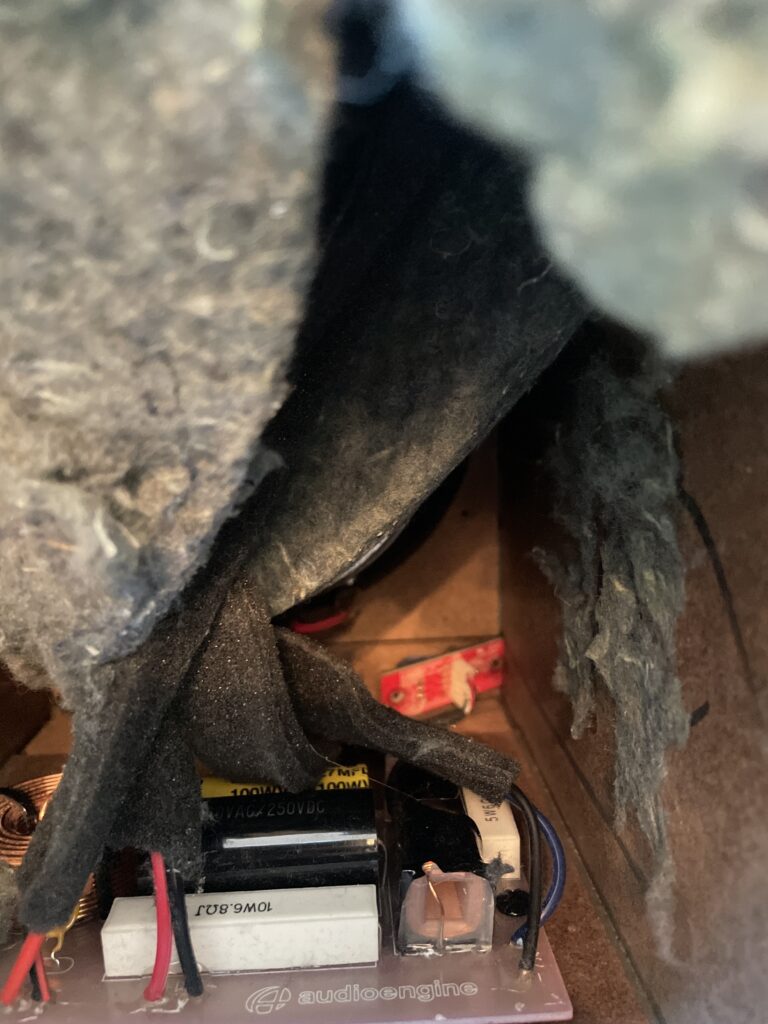
The process can be a bit cramped if you wish to do as little disassembly as possible, or a bit easier if you are comfortable moving parts to give yourself more workspace. The sound damping insulation normally overlaps at the bottom of the active cabinet. This can be peeled back similar to the reference picture attached. The crossover is mounted underneath this insulation (If process being done on an HD6) and is perhaps the most obtrusive part when replacing a volume encoder. This has two Philips head screws mounting it to the base of the cabinet along with an adhesive pad to reduce noise vibration. It is possible to remove the two screws and lift the adhered crossover up from the base of the cabinet momentarily to get better access to the IR receiver and volume knob assemblies at the front. If you'd rather not risk damaging anything, the IR receiver can still be unscrewed from the inside of the cabinet with a long-necked Phillips PH1 driver. The volume knob is loosened from the outside of the cabinet with a thin-walled 10mm socket found by pulling the volume knob straight back from the encoder shaft. Ample lighting will also make this work easier
Each Speaker is 11″ (28 cm) x 7.16″ (18.2 cm) x 7.79″ (19.8 cm)
All Optical audio is considered a "fixed" output, meaning volume will not attenuate from the TV remote. If you have an HD5/HD6 you can use the Audioengine remote for this. Fo
We take great pride in our products, and go through great lengths to ensure consistency and quality. For that reason, this item was randomly selected for an additional step of Quality Assurance.
Even though the HD5 has a built-in Bluetooth receiver, the HD5 are extremely versatile and can be used with a number of different devices, both digital and analog. There two analog inputs, a mini-stereo and RCA input, on the rear panel so you can directly connect any product with a line-level/preamp audio output, such as a turntable. The HD5s also have an optical input that utilizes the speakers' built-in DAC, so any source that has a digital optical output can be used directly with the speakers, such as the optical output of your television or computer.
The HD5s are slightly too big for our DS2M desktop stand, so we wouldn't really recommend them with the speakers. We've been using the IsoAcoustics as desktop stands for the HD5 and they've been working pretty well.
Yes they do! They are equipped with a power-saving circuit that turns off the speaker's final stage amp. This idle mode activates right after you stop playing music. Due to this power-saving function, it's perfectly fine for the speakers to stay on all the time!
It's pretty easy! Our powered speakers are an all-in-one solution with no extra amps or components needed! All you need to do is unpack the speakers, place them where you want, and then plug in the AC cord. Next, connect the powered speaker to the right passive speaker using the included upgraded speaker wire with banana plug tips. Finally, plug in your music (cell phone, turntable, computer, laptop, etc.) with the supplied cables or via Bluetooth and you're ready to go!
Once your HD6 is paired and connected, then open any app (iTunes, Spotify, Amarra, etc.) - or online players such as Youtube - and it will automatically play your music through Bluetooth once you've selected what you want to hear.
No extra software or drivers are needed. The HD6 is compatible with any device that supports Bluetooth, and the A2DP profile for streaming stereo audio. This includes most smartphones, tablets, and computers.